FineReader 11 installation (OCR installation)
Applies to version: 2020.1.x and above; author: Michał Lalewicz
The following article describes how to install the ABBYY FineReader 11 component. FineReader is a program for converting scanned documents and PDF files into editable form. It is also responsible for generating a text layer on the attachments in workflows.
Installation
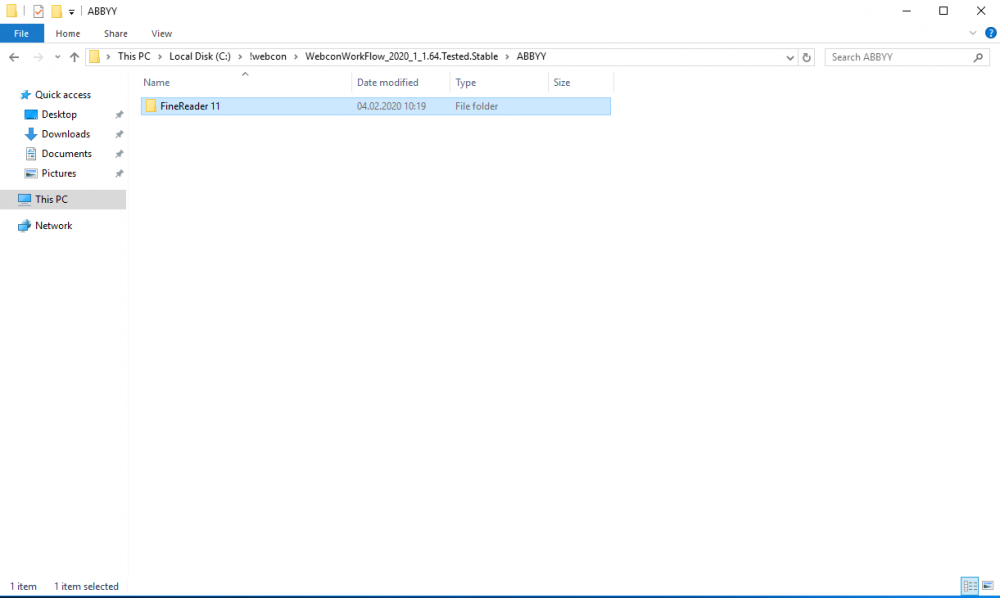
Before starting the installation process, creating a folder called “ABBYY” in the WEBCON BPS installation folder is necessary.

The next step is to download the ABBYY FineReader 11 component – go to the SUPPORT panel and in the “Client” tab open the “WEBCON BPS 2019” folder or just click here.
After downloading the component you need to unpack the file and copy from it the “FineReader 11” folder, and then paste it into the previously created “ABBYY” folder in the WEBCON BPS installation folder.
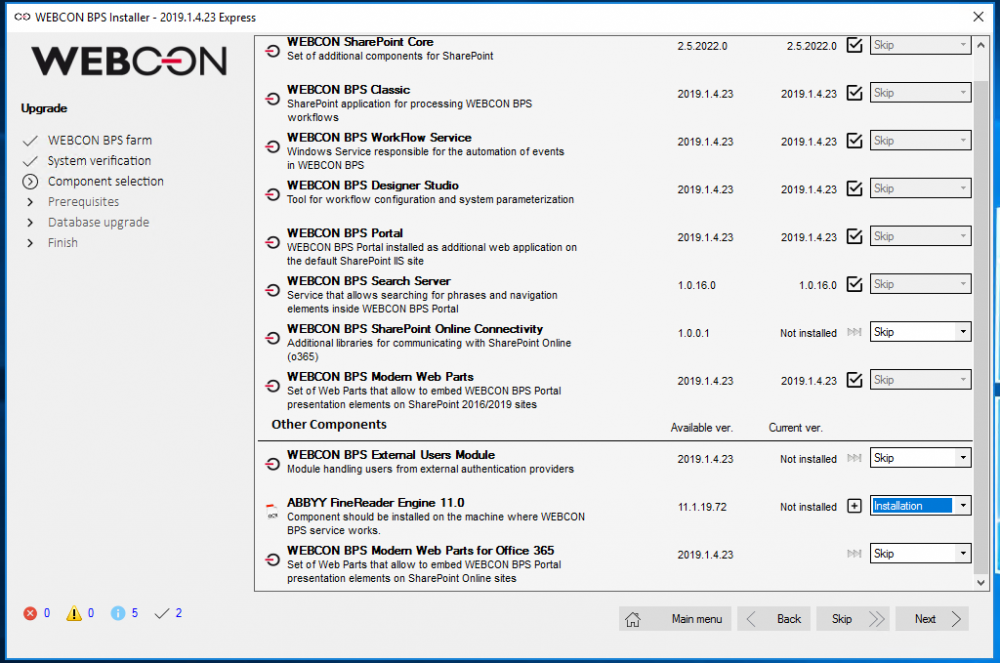
Then, launch the WEBCON BPS installer – if the software is already installed, select the “Update or expand an existing WEBCON BPS installation”. If the WEBCON BPS is not installed, select the “New installation of WEBCON BPS”. In the “Component selection” step in the “Other components” section, select the “Installation” next to the “ABBYY FineReader Engine 11.0” option.
In the “Component installation” step, a window for configuring the ABBYY FineReader 11 installation parameters will appear on the screen. To properly install the component, a serial number is required.
There are two types of serial number:
- Standalone – can be used by one file processing service
- Network license (network concurrent) – allows to share licenses on several computers in one network (up to 25 computers)

In the “Required installation parameters” section, enter the active serial number and the installation path on the computer disk. To use the full functionality, check the “Install license server” and “Install hardlock key drivers” boxes. The “Use network license” field should be checked only if the serial number is used (after checking the option, you must enter the service license name).
Click the OK button – the installation process will start.
The key activation message will appear on the screen – you can activate it now by clicking the “Yes” or do it later using FineReader 11 License Manager.
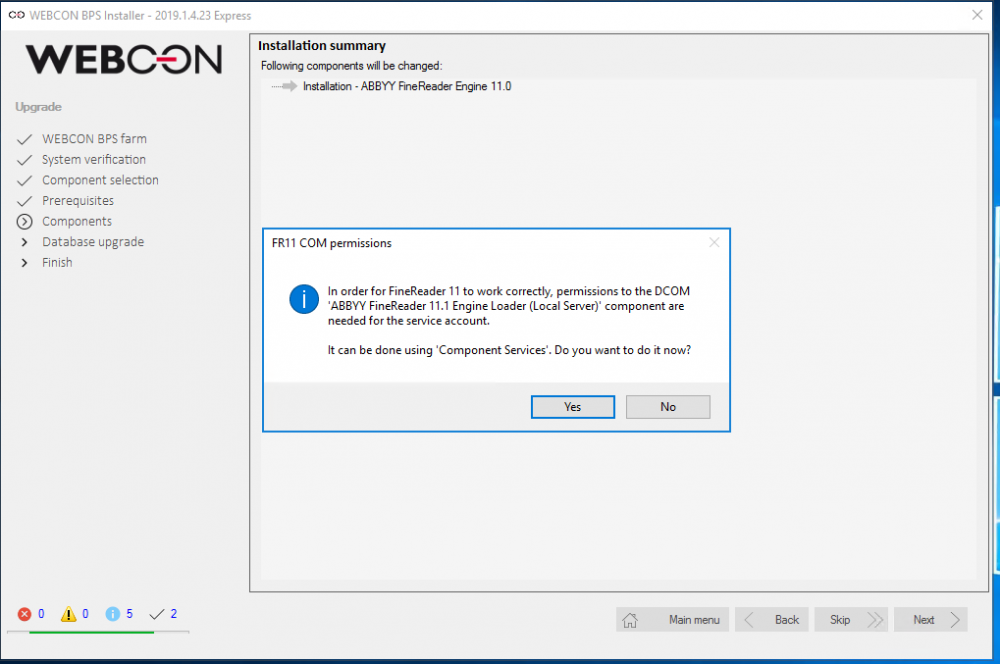
The next step is to set FineReader 11 permissions for a user service account. If you click “Yes”, the DCOM application will open, where you have the option to set permissions (at least) a user on which the service works. This is necessary for proper cooperation between WEBCON BPS and FineReader 11.
However, if you click “No”, the permissions can be set later in the “Component services”. The “Component services” window can be run in two ways:
- Using the run tools (Windows + R shortcut) and then enter the “dcomcnfg” command.
- Using the Control Panel and select: Administrative tools -> Component services -> Computers -> My computer -> DCOM configuration.
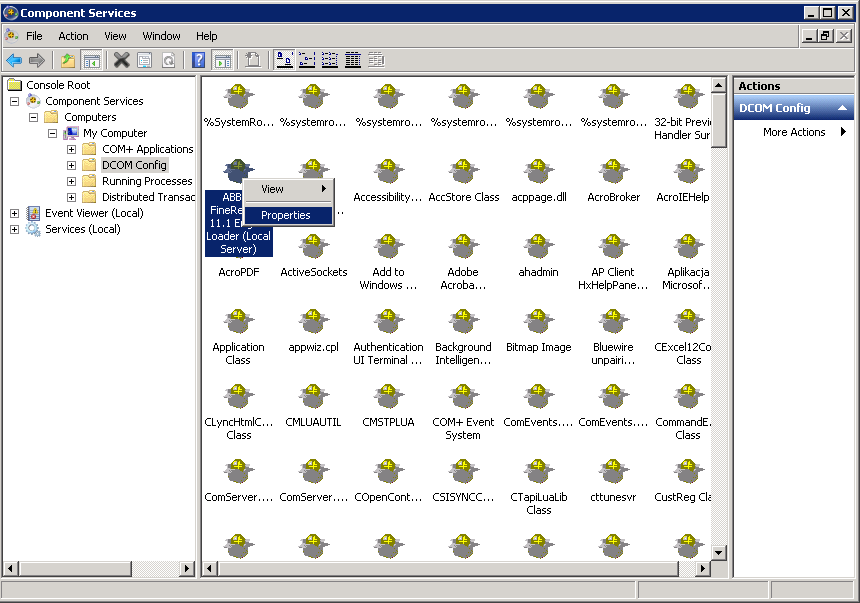
Below, the process of setting permissions for a system user account is presented.
First, open the DCOM configuration – click the ABBYY FineReader 11.1 Engine Loader (Local Server) icon and select the “Properties” option.
Next, in the properties window go to the “Security” tab and check the “Customize” option in the “Launch and Activation Permissions” and “Access Permissions” options.
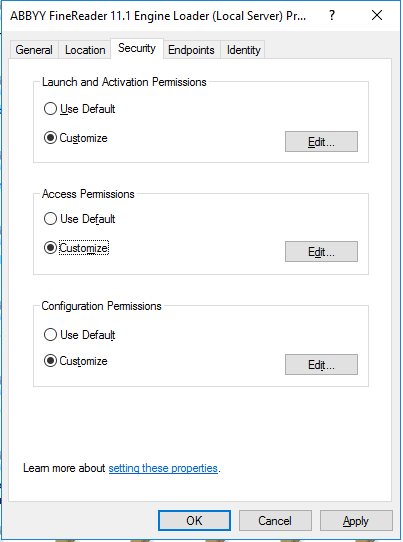
Additionally, in the “Launch and Activation Permissions” click the “Edit” button and add a new user.
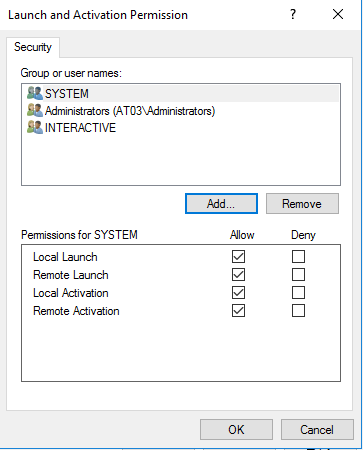
In the “Enter the object names to select” option enter a user login and click the “Check names” button.

If correct, the name will be underlined and replaced with the display name.
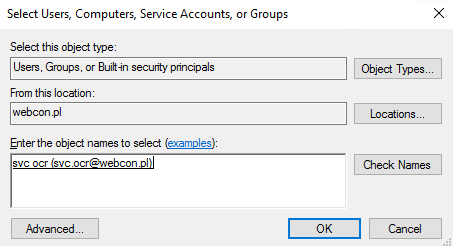
Click the OK button – and then, set the appropriate permissions for the newly added user. Check all four options and save by clicking OK.
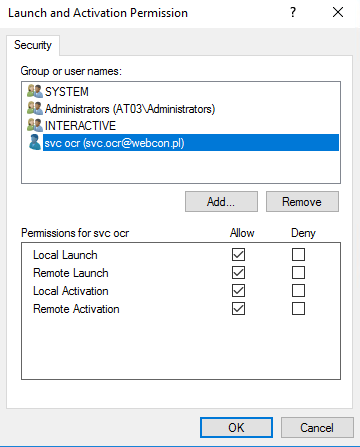
In the same way set a permissions in the “Access Permissions” part (only two permissions appear, which must be checked).
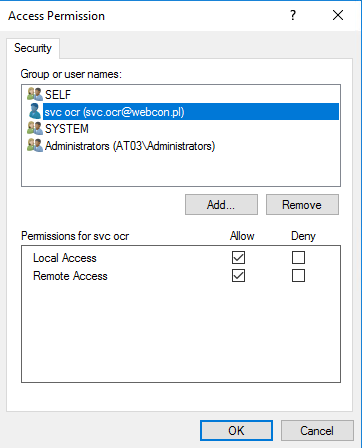
After returning to the component services window, save all changes by clicking the “Apply” or “OK” button.
Come back to the installer and in the “Database upgrade” step click “Skip”. A summary of the installation will appear on the screen – go to the main menu and close the installer.
License activation
After completing the installation go to the folder where the FineReader program has been installed (by default -> “C:Program FilesFineReader 11Bin64”) and run the LicenseManager application.
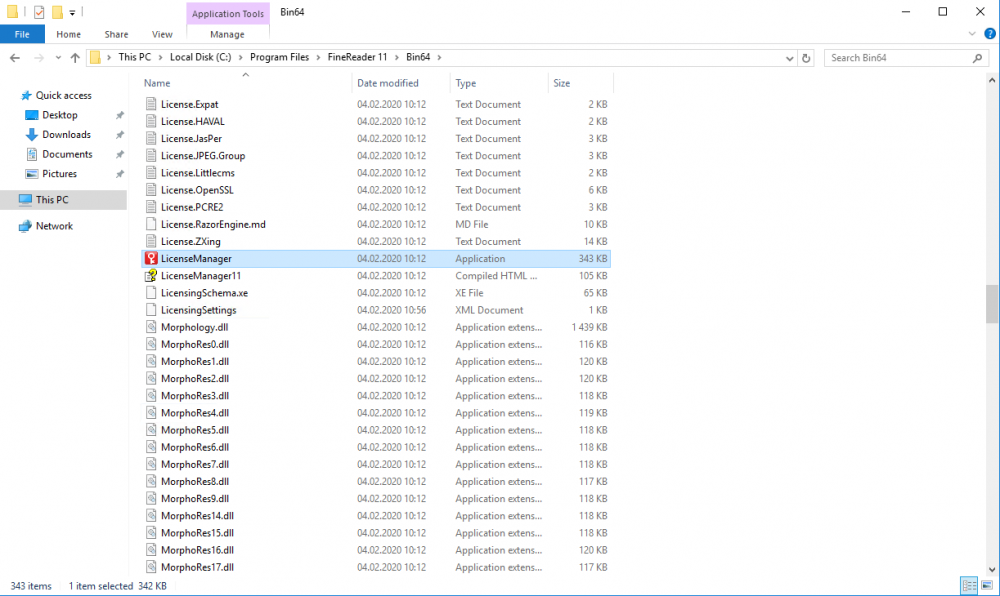
If in the “Licenses” window there is no active licence, click the “Activate License…” button.
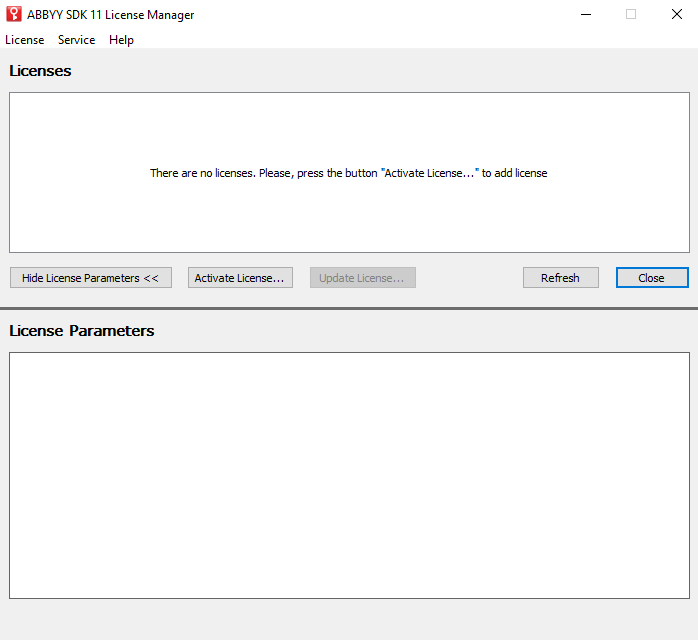
You will be asked for a serial number and then, a window with the ability to select one of four license activation modes will appear:
- Via the Internet (fast, recommended) – this type of activation is carried out automatically and takes only a few seconds. To perform this type of activation, an Internet connection is required.
- By e-mail (fast) – information about sending an e-mail to the ABBYY company will be displayed, containing the data required to activate ABBYY FineReader. The e-mail will be automatically created and in response to the message, you will receive an activation code.
Important! Check if the subject and e-mail content have not been changed, which are necessary for quick verification and e-mail mechanism response.
- By e-mail from another computer (slow) – use this method only if you cannot activate the program on your computer (e.g. when there is no internet connection or problems with sending e-mails).
Save all license information in a text file and then, create an e-mail on another computer. In the subject field enter “Ask for activation” and in the “To” field: FineReader-activtion@abbyy.com. Previously saved information should be copied to the e-mail and then sent.
After receiving a reply e-mail with the license file, save it to your hard disk and specify the file path in the activation wizard window.
- Load license file – specify the license file path and activate it.
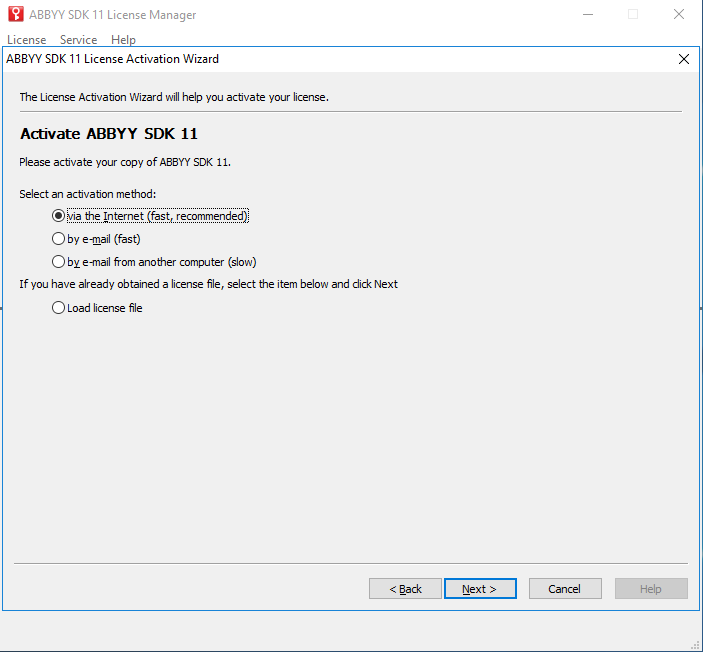
If the given key is correct, an active license will be displayed in the “Licenses” field. Each key can be activated once.

The configuration is now ready.

