Installation of WEBCON BPS Add-In for MS Teams
Applies to version: 2020.1.x; author: Michał Kastelik
WEBCON BPS add-in for MS Teams enables the integration of the WEBCON BPS platform with Microsoft Teams.
The article below presents the process of add-in installation and configuration. We will also show how can you access to the task list.
Installation of MS Teams add-in
The process consists of downloading the add-in file and then installing it directly in MS Teams. Each user can carry out this installation by themselves – they don’t need to have the administration privileges.
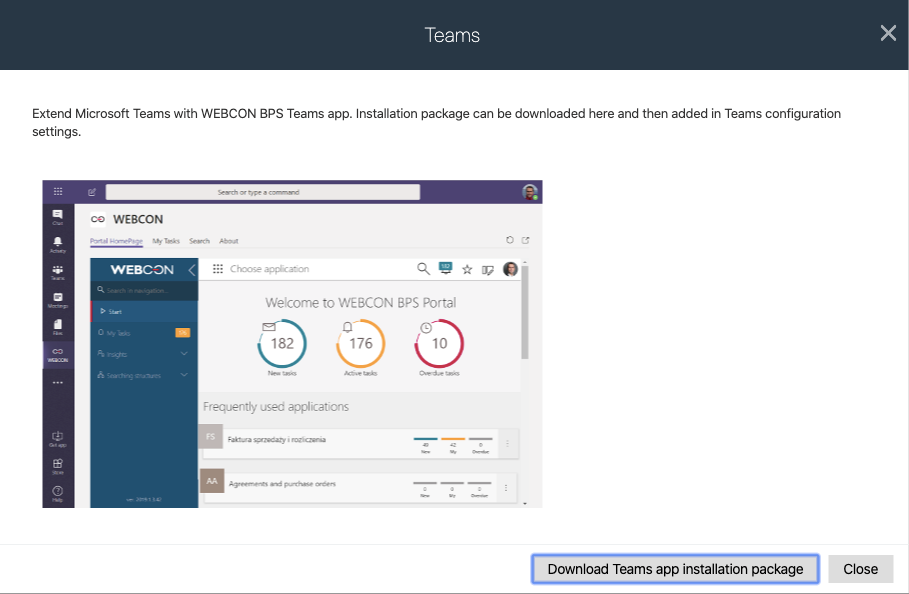
Go to WEBCON BPS Portal and click on the user menu and then select the “Install MS Office add-ins” – “Teams”. You will get a window to download the add-in – just click on the “Download Teams app installation package” button.

Further installation is done directly in MS Teams – we can do this on both the desktop and web version (on Windows and Mac OS systems).
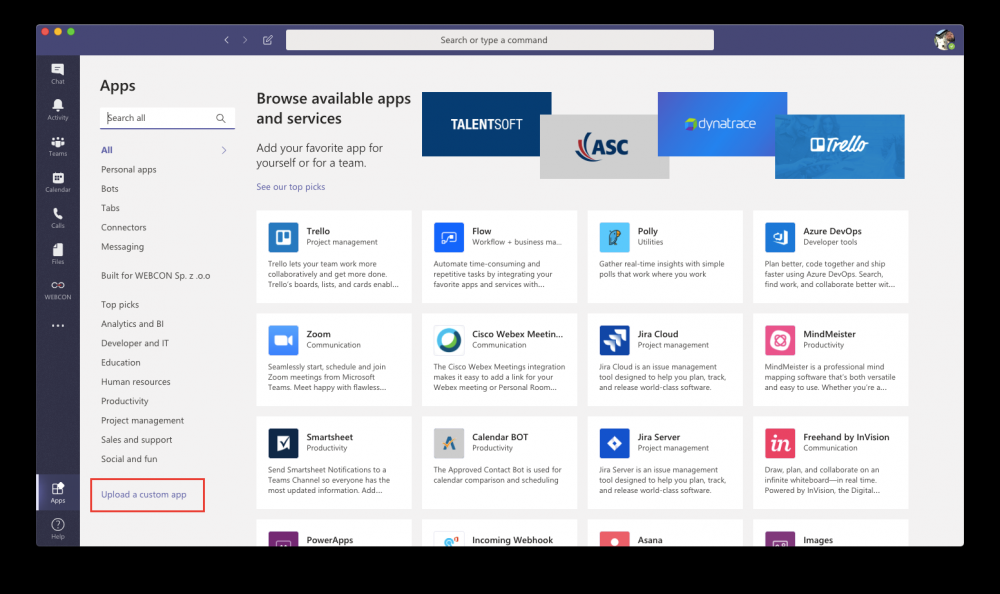
In the MS Teams application window click on the “Applications” button (located on the left) and then “Upload a custom app” – select the previously downloaded file. In the add-in installation window click the “Add” buton.

A WEBCON BPS log-in window will now appear – after correctly logging in, the installed add-in will appear on the screen.
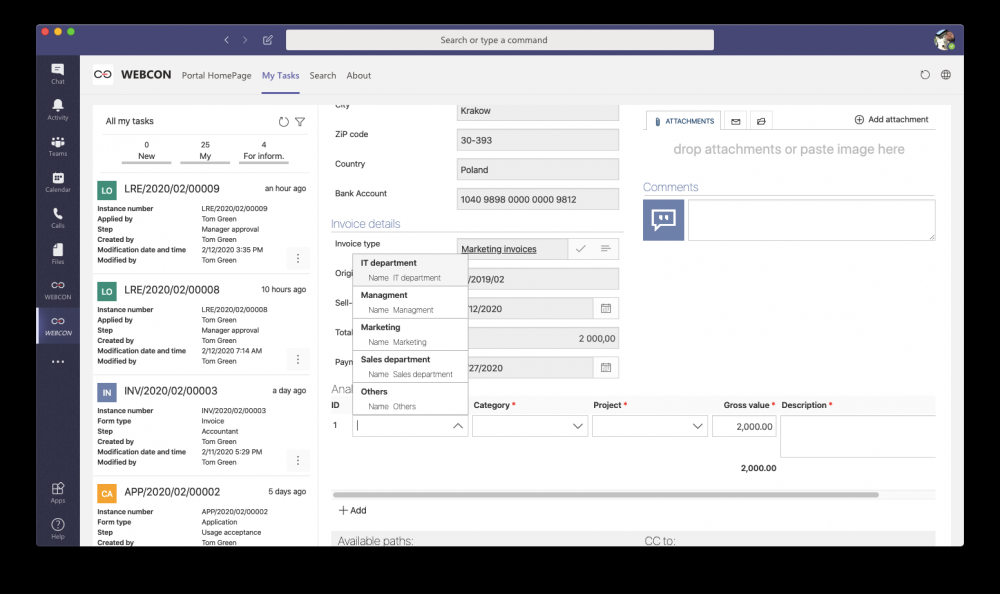
To go to the tasks list, just click on the WEBCON BPS application icon located on the left and select the “My tasks” tab.


