Starting workflows by using SharePoint Framework Extensions
Applies to version: 2020.1.x and above; author: Michał Kastelik
Introduction
The SharePoint Framework extensions are client-side components that work in the context of a SharePoint page. They can be implemented in a SharePoint Online environment and you can use JavaScript tools and libraries to create them.
This article presents the methods for starting WEBCON BPS workflows from the SharePoint library by using the “ListView Command Set” extension.
Preparing the tools
The first step is to prepare the development environment. This instruction describes the configuration using the Windows 10 system, but there is also the ability to use the Mac OS X system.
The minimum required components needed for installation are:
- NodeJS LTS version 10 – currently the highest version supported by SharePoint Framework (the solution works only with this version)
- Visual Studio Code – or any other advanced code editor
- Yeoman and gulp
- Yeoman SharePoint generator
After downloading and installing NodeJS, the gulp extension, Yeoman and SharePoint generator can be installed by using the commands in PowerShell:
npm install -g yo gulp
npm install -g @microsoft/generator-sharePoint
Generating an extension template
The first step is to generate a solution template. Create a solution folder (e.g. c:StartBPS) and start a Yeoman generator in this folder using the command:
PS C:StartBPS> yo @microsoft/sharePoint
An initial generator message and a first question will be displayed.
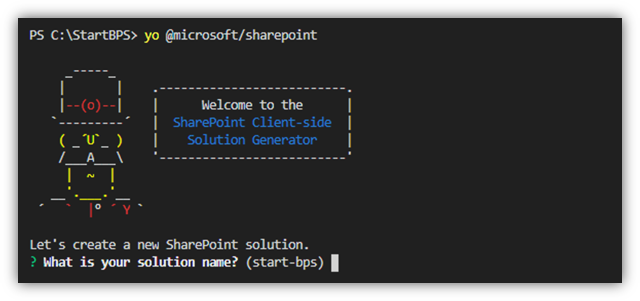
Below there are all questions and required default answers:
| What is your solution name? | StartBPS (any name) |
| Which baseline packages do you want to target for your component(s)” | SharePoint Online only (latest) |
| Where do you want to place the files? | Use the current folder |
| Do you want to allow the tenant admin to choice the choice of being able to deploy the solution to all sites immediately without running any feature deployment or adding apps in sites? | N |
| Will the components in the solution require permissions to access web APIs that are unique and not shared with other components in the tenant? | N |
| Which type of client-side component to create? | ExtensionListView Command Set |
| What is your Command Set name? | StartBPS |
| What is your Command Set description? | (any description) |
The entire process of generation code takes several dozen seconds and its completion will be confirmed by the “Solution is created” message.
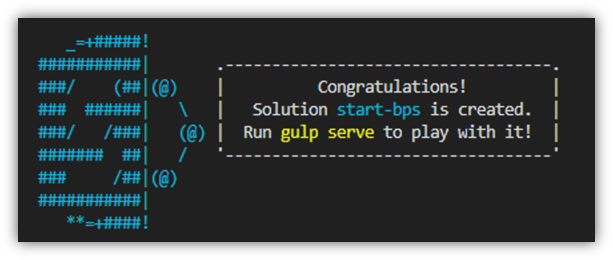
Extension configuration and tests
First, run a code editor by using a command:
PS C:StartBPS> code .
The generated solution template should be connected to your own SharePoint Online environment.
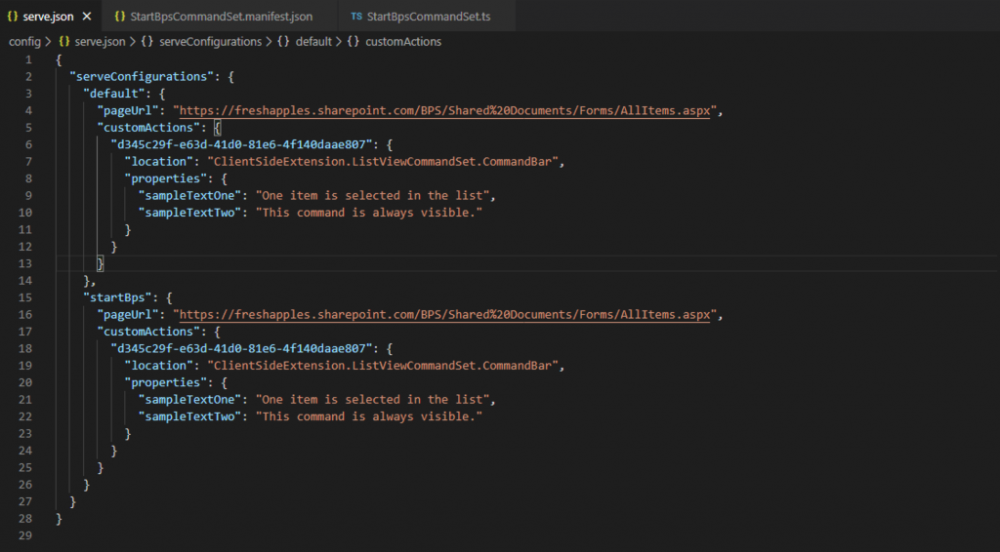
The entire solution catalog will be displayed on the left side of the editor. Go to the config folder and open the serve.json file. In a „pageURL” variable enter (in two places) the SharePoint list address when the extension should be installed.
Then delete the first three lines of this file and save the changes. To test the configuration and introduced changes, open the terminal in the editor and enter the command:
PS C:StartBPS> gulp serve
A default web browser will open in the system and a message about consent to run the scripts will be displayed. Confirm the “Load debug scripts” message.
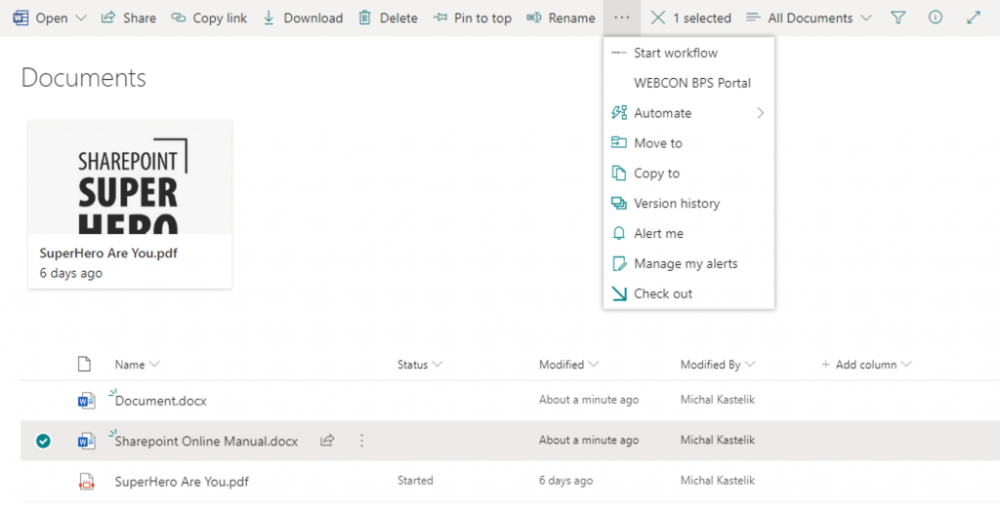
The “Command One” and “Command Two” commands generated in the template will be displayed on the SharePoint list indicated by us in the configuration. “Command Two” is always displayed, the second – only after selecting the element list.
Defining the workflow start and a button opening Portal
Until now, the generated solution template has changed only in one serve.json file and confirmed the initial configuration in the SharePoint Online environment. The rest of the article describes how to change the configuration of commands.
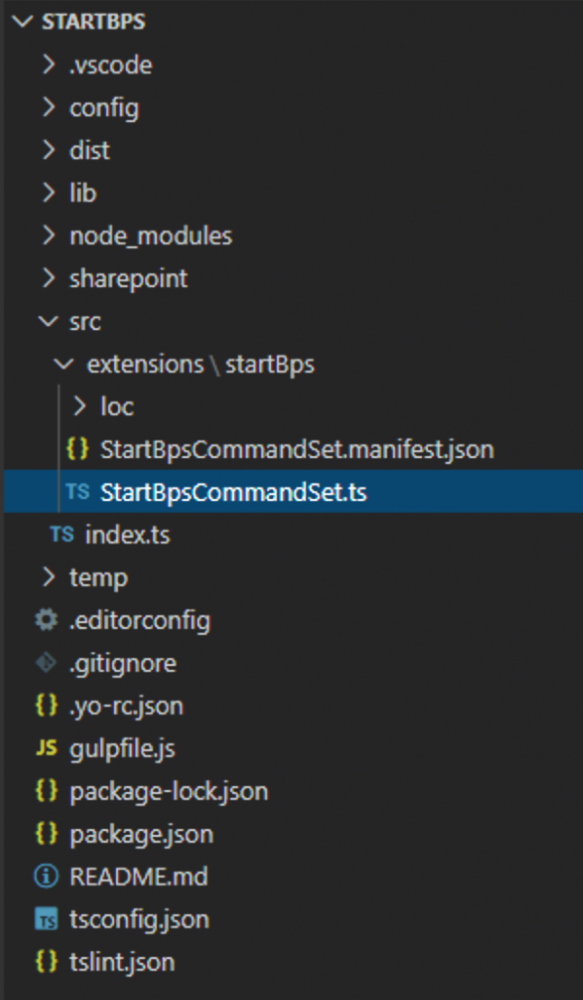
To make changes to the names displayed in the menu, modify the StartBpsCommandSet.manifest.json file.
The „COMMAND_1” element is displayed after selecting an element list. In the discussed scenario it has been changed to the “Start workflow” name. The second “COMMAND_2” element will act as a link opening WEBCON BPS Portal.
{
”$schema”: ”https://developer.microsoft.com/json-schemas/spfx/command-set-extension-manifest.schema.json”,
”id”: ”d345c29f-e63d-41d0-81e6-4f140daae807″,
”alias”: ”StartBpsCommandSet”,
”componentType”: ”Extension”,
”extensionType”: ”ListViewCommandSet”,
”version”: ”*”,
”manifestVersion”: 2,
”requiresCustomScript”: false,
”items”: {
”COMMAND_1″: {
”title”: { ”default”: ”Start workflow” },
”iconImageUrl”: ”icons/request.png”,
”type”: ”command”
},
”COMMAND_2″: {
”title”: { ”default”: ”WEBCON BPS Portal” },
”iconImageUrl”: ”icons/cancel.png”,
”type”: ”command”
}
}
}
The code which is executed after clicking these elements is defined in the StartBpsCommandSet.ts file in the onExecute() section at the end of the file.
@override
public onExecute(event: IListViewCommandSetExecuteEventParameters): void {
switch (event.itemId) {
case ’COMMAND_1′:
// Start workflow
// Generate Document Link
const absoluteUrl:string = this.context.pageContext.site.absoluteUrl;
const docBPSName:string = event.selectedRows[0].getValueByName(‘FileLeafRef’);
const docBPSID:string = event.selectedRows[0].getValueByName(‘ID’)
const docRelativeUrl:string = event.selectedRows[0].getValueByName(‘FileRef’);
const docShareUrl = absoluteUrl + docRelativeUrl
//
window.open(“https://presentation.webconbps.com/BPSPortal/db/1/app/71/start/wf/145/dt/148/form?com_id=2&AttText1=” + docBPSName + ”&AttText4=” + docBPSID + ”&AttText3=” + docShareUrl);
break;
case ’COMMAND_2′:
// Open WEBCON BPS Portal
window.open(“https://presentation.webconbps.com/BPSPortal/”);
break;
default:
throw new Error(‘Unknown command’);
}
}
}
After starting the extension code in the SharePoint library configuration there will be a “Start workflow” option which starts the previously defined workflow after selecting the list element. The “WEBCON BPS Portal” element that opens the main page of the platform will also be visible.
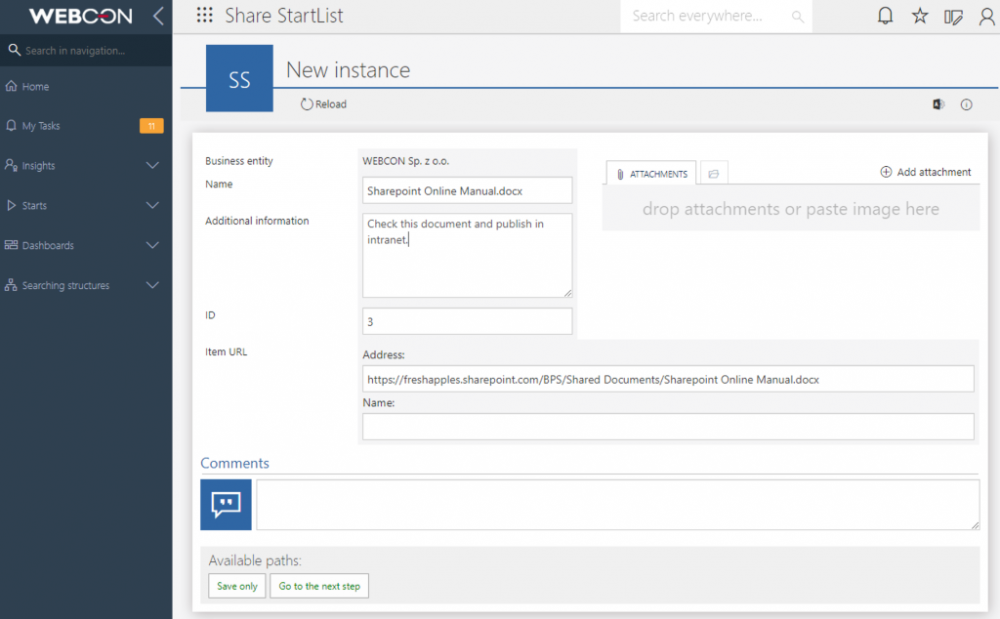
After selecting the instance and clicking the “Start workflow” button, a new workflow will appear in the new browser with filled in fields containing the file name (in the Name field), instance ID (in the ID field) and entire path to the file (in the Item URL field).
The solution described in the article is only a taste of the possibilities provided by SharePoint Framework Extensions.
With basic programming skills and through modifying only three files, you can extend the capabilities of the SharePoint Online list and combine them with WEBCON BPS.
More information about the solution can be found under the following link:

