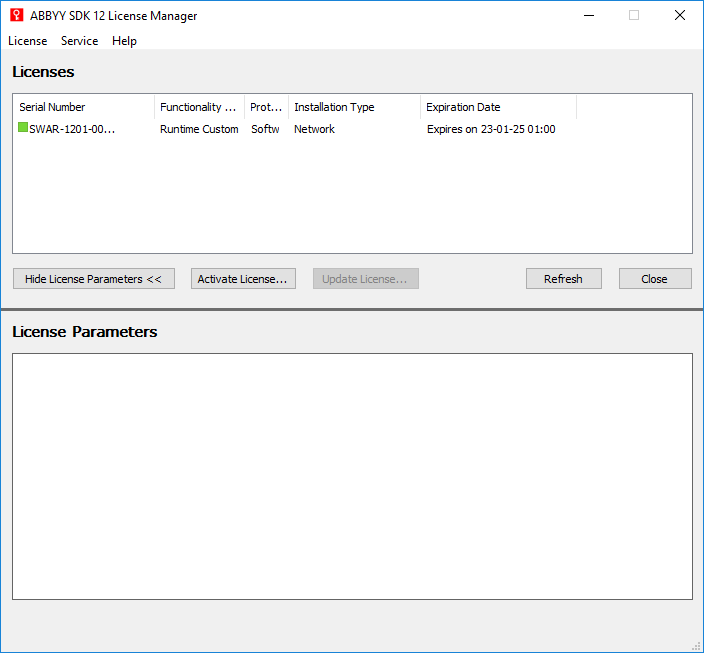
Installation of the ABBYY FineReader 12 component
Applies to version: 2023 R3 and above; author: Jacek Język
Introduction
ABBYY FineReader 12 is a software that transforms scanned documents and PDF files into editable (text) versions. In the WEBCON BPS platform, the software is used to generate text layer for attached files.
This article describes the procedure for installing the ABBYY FineReader 12 component.
NOTE: You can download this article in the PDF format by clicking here.
Installation
Before installation, download the ABBYY FineReader Engine 12 installation files package that corresponds with your WEBCON BPS system from https://community.webcon.com (the Downloads section).

Then, create the “ABBYY” folder in the installation directory of the WEBCON BPS platform.
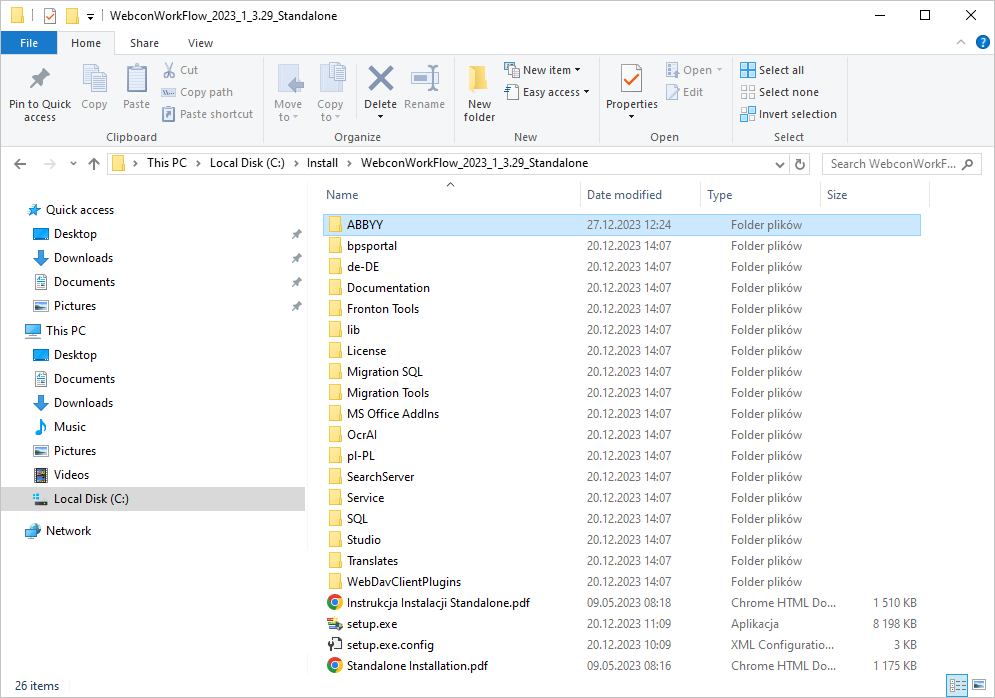
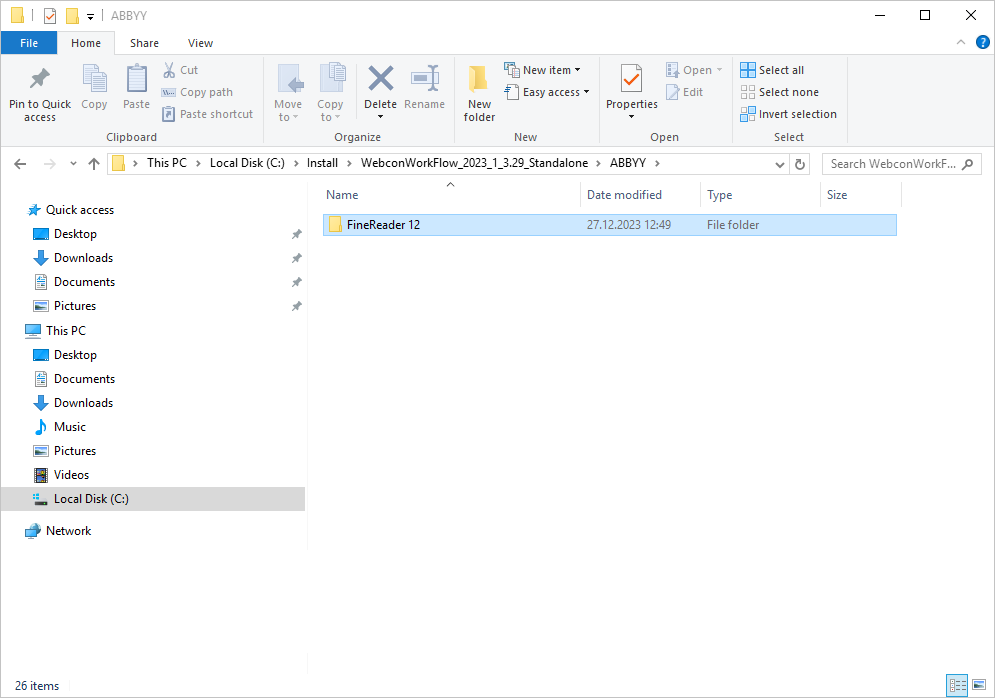
Extract the downloaded archive file, and then copy the “FineReader 12” folder into the “ABBYY” folder previously created in the WEBCON BPS installation directory.
Run the WEBCON BPS installer.
If the platform is already installed, select the Update or expand an existing WEBCON BPS installation option, otherwise select New installation of WEBCON BPS.
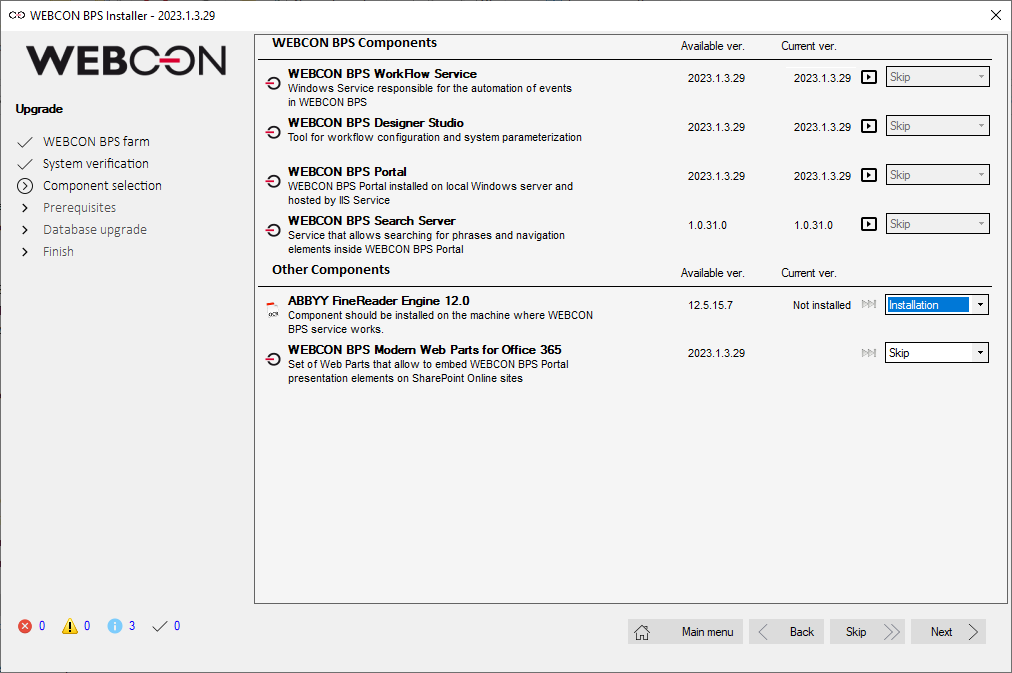
In the Select components step, navigate to the Other components section, and select Installation next to the ABBYY FineReader Engine 12.0 field. Continue with the installation.
After proceeding to the Components installation step, a window will be displayed, allowing you to configure installation parameters for ABBYY FineReader 12.
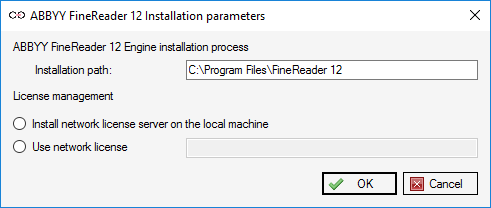
To work correctly, the ABBYY FineReader 12 component requires the installation of the text layer engine on the server where the WEBCON BPS service operates with the OCR AI role. In addition, you need to install a license server to manage ABBYY FineReader 12 licenses.
The installer allows you to choose one of the two available installation modes:
- Install network license server on the local machine – both the text layer engine and the ABBYY FineReader 12 license server will be installed on the server;
- User network license – only the text layer engine will be installed on the server. In this case, you also need to specify the name of the server (in the NetBIOS format) on which the ABBYY FineReader 12 license server will be installed.
The ABBYY FineReader 12 license server should be installed on a dedicated computer using the same installer, but by selecting the Install network license server on the local machine option.
The network mode enables multiple text-layer-generating servers to utilize the same license server.
The license management (activation/deactivation) always occurs at the server level where the license server is installed.
Installation in the Install network license server on the local machine mode.
Select the Install network license server on the local machine option in the installation window.
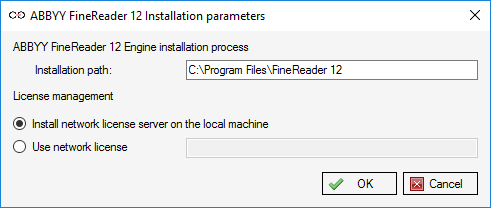
Once you select the OK button, the ABBYY FineReader 12 installer is run to install the corresponding components.

A window prompting you to enter the license key is displayed after completing the components installation.

The license key (Assigned serial number) for the ABBYY FineReader 12 package is provided along with the certificate documenting the license purchase.
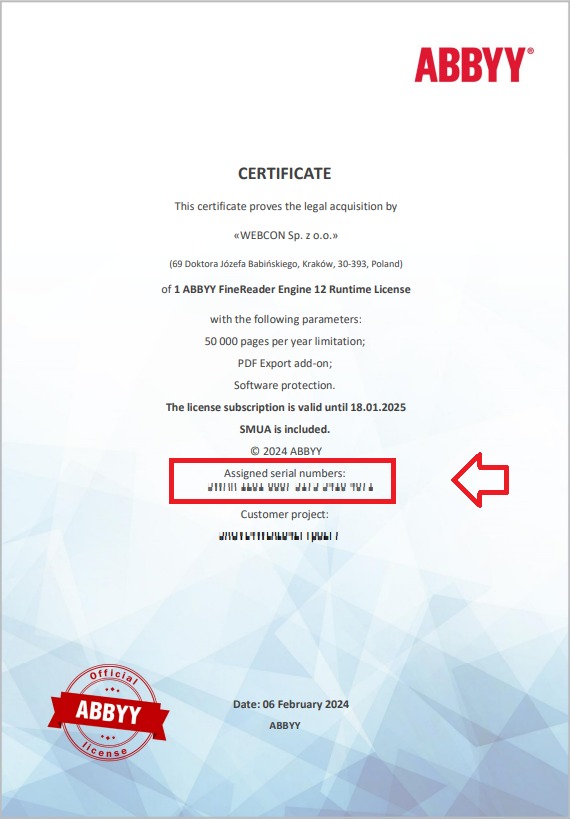
After entering the correct key and confirming it with the OK button, an attempt to activate the license is made. This type of activation requires internet connection.
In case of unsuccessful activation (e.g. due to no internet connection), you can still perform the activation after installation by running the dedicated LicenseManager application. The procedure for LicenseManager activation is explained later in this article.
The next installer window requires granting permissions to the ABBYY FineReader 12 component for the service user account. You can grant relevant permissions in the course of installation process or skip this step and configure them later on.
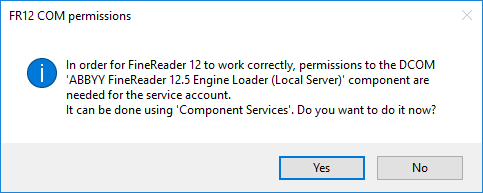
Clicking the Yes button opens the Component Services window, allowing you to add the necessary permissions. Choosing No allows you to configure the permissions later.
Adding permissions to service account
If you add permissions during the installation process, the Component Services window will automatically open, allowing you to proceed immediately with the permissions configuration. If this operation is performed after installation, the Component Services window must be opened manually. You can do that in two ways:
- by typing in the “dcmcnfg” command in the Run dialogue window in the Windows system (Windows key + R);
- by navigating in the Control panel window through the path System and Security → Windows Tools → Component Services → Computers → My Computer → DCOM Config.
After opening the Component Services window, go to DCOM Config and select the ABBY FineReader 12.5 Engine Loader (Local Server).
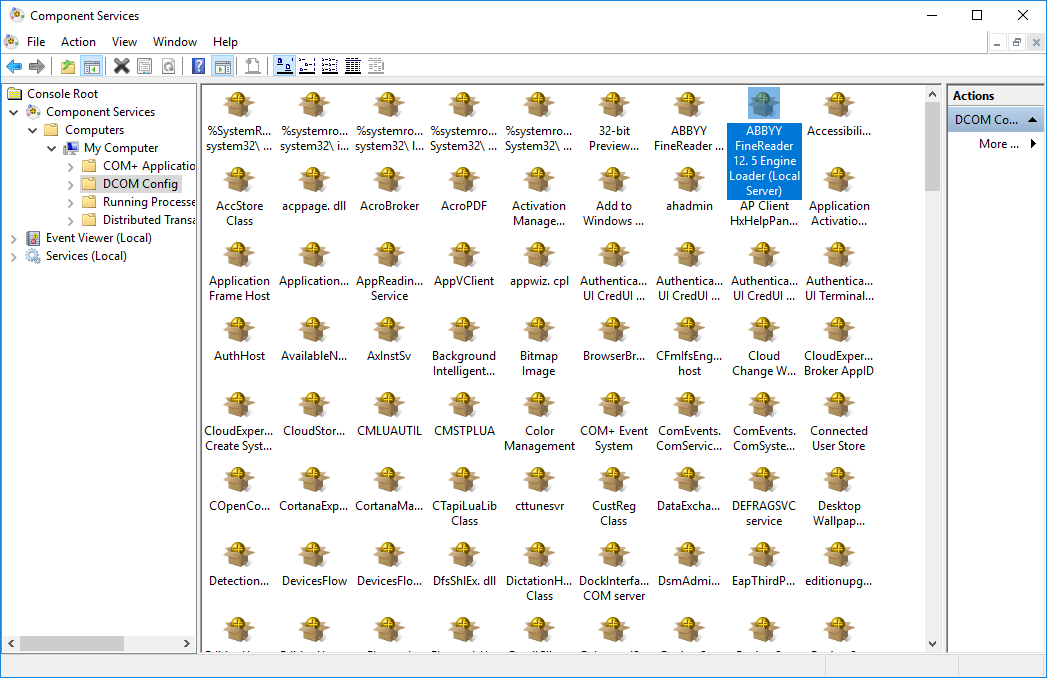
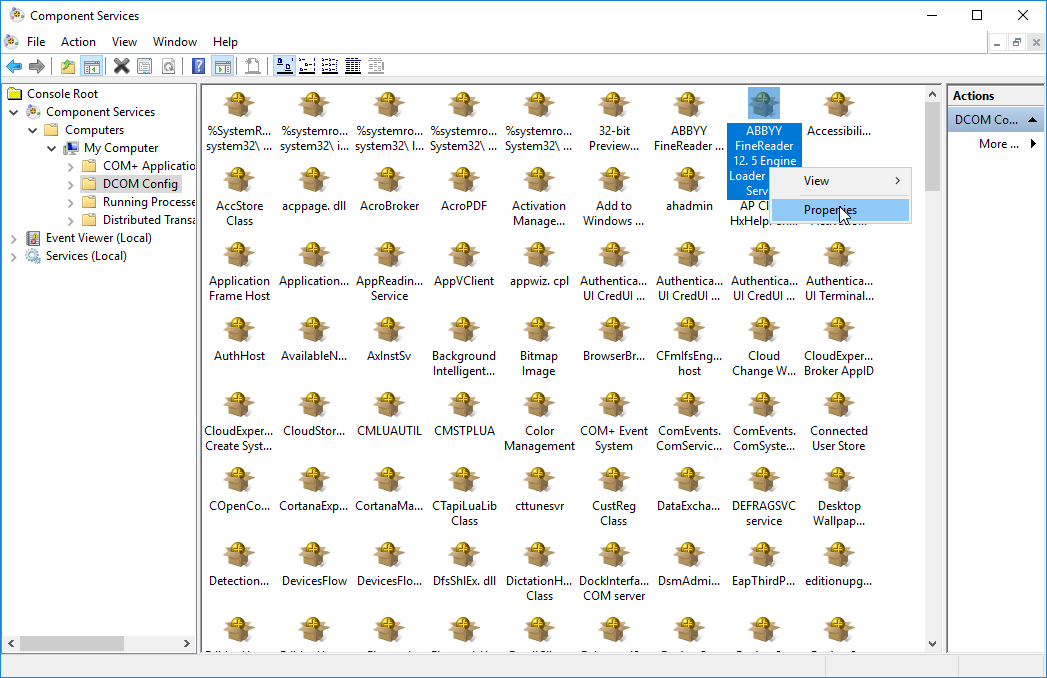
Then, select the Properties option from the context menu.
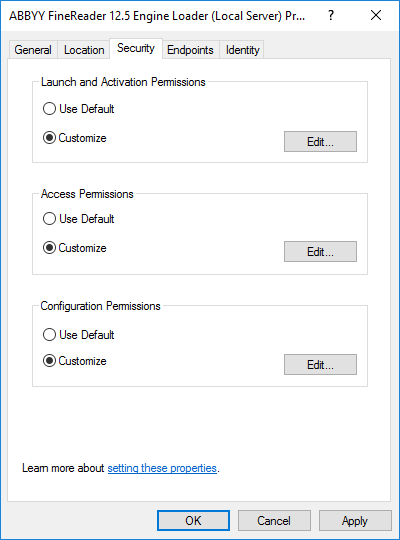
In the Properties window, go to the Security tab and select the Customize option in the Launch and Activation Permissions and Access Permissions tabs.
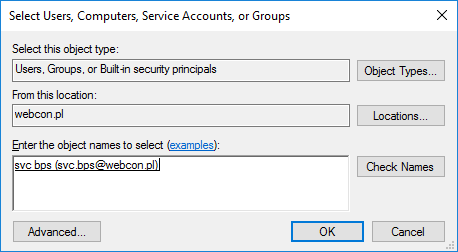
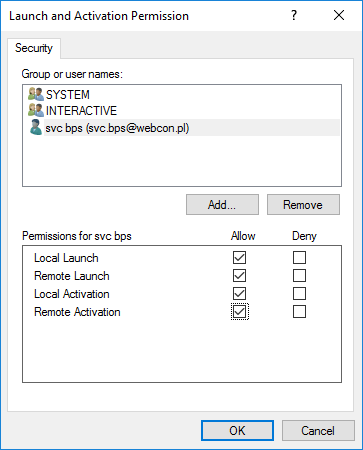
Additionally, in the Launch Activation Permissions, select the Edit button and choose the user account that is used by WEBCON BPS Workflow service.
After clicking OK, in the permissions window for the service account user, grant relevant permissions by checking all four options. Save the configuration by clicking the OK button.
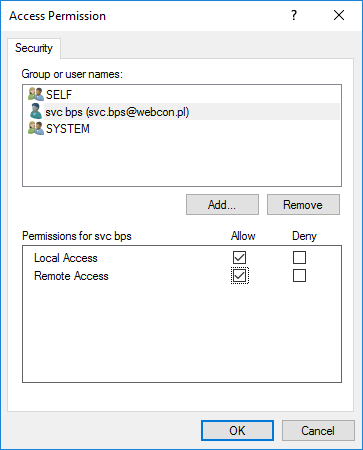
Now, grant the permissions in the Access Permissions section using the same procedure.
After returning to the Component Services main window, save changes by clicking on Apply or OK.
Once you grant the permissions, return to the installer and in the Database upgrade step click the Skip button. The installation summary will be displayed on the screen. Now, you can close the installer.
License activation
If the ABBYY FineReader 12 license has not been activated during the installation process, you will need to do so afterwards.
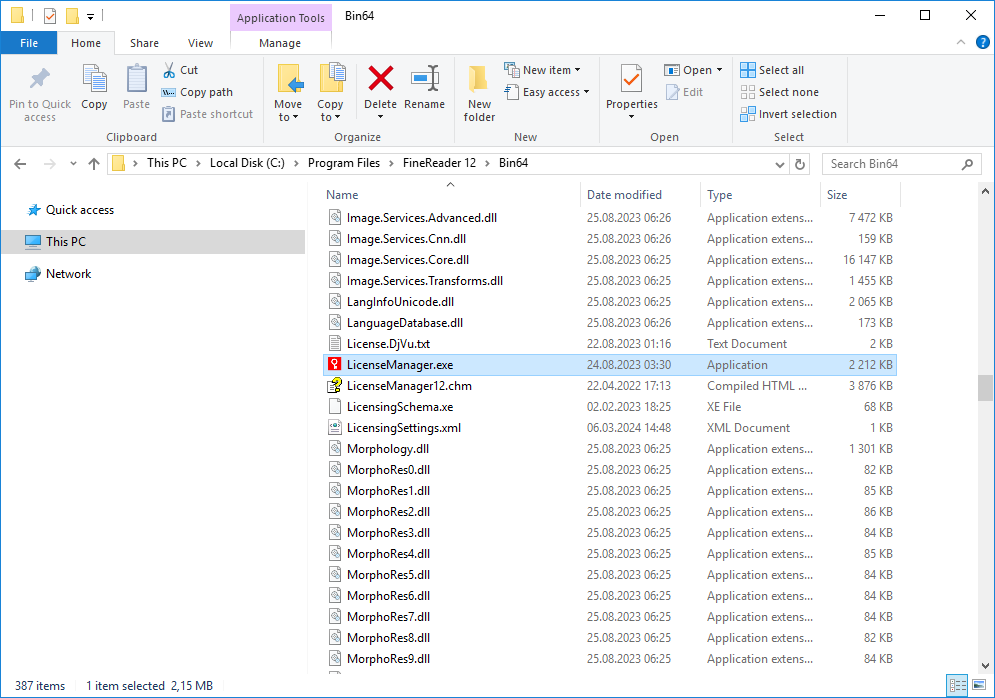
Therefore, open the folder where the component has been installed on the server with the ABBYY FineReader 12 license server. By default, this component is installed in the following directory: C:Program FilesFineReader 12Bin64.
Run the LicenseManager application.
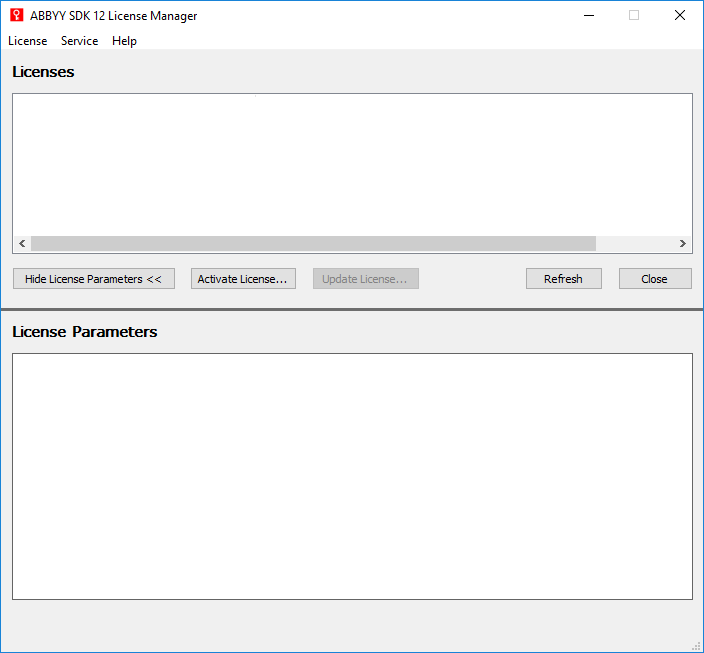
Click the Activate License… button.
In the next window, enter the license key and proceed to the key activation window following one of the available methods:
- via the Internet – the activation is performed automatically and takes only a few seconds. This type of activation requires internet connection;
- by e-mail – a message is displayed, informing that an automatically generated e-mail containing the data required for ABBYY FineReader software activation must be sent to ABBYY. An e-mail will be generated automatically, and in response to it, the activation code will be delivered;
NOTE: Ensure that the subject and content of the e-mail have not been modified, as this may delay the verification and response from the e-mail mechanism.
- by e-mail from another computer (offline) – this method is recommended when the license cannot be activated on the computer where the ABBYY FineReader 12 software is installed (e.g. when the computer lacks internet connection or sending e-mails is not possible). In such a situation, save all the license information in a text file and then create an e-mail on a different computer. In the subject field, enter “Request for activation” and in the recipient field use “FineReader-activation@abbyy.com”. Copy the previously saved information into the e-mail and send it.
After receiving the return message containing the license file, save it to your disk. In the activation wizard window, specify the path to the file;
- load license file – the method requires specifying and activating the license file.
If the provided key is correct, the active license will be displayed in the Licenses field.
