2022 Mobile App – Remote profile configuration
Applies to version 2019.1.x; Author: Przemysław Sierant
Introduction
WEBCON BPS 2022 introduces a new version of the mobile application. One of the changes made is the process of creation of the user profile. It is still possible for the system administrator to prepare a BPSX file in order to send it to a specific user as it was done so far. Specific configuration can be found here: http://howto.webcon.com/remote-configuration-of-the-mobile-application-profile/. This article concentrates on differences between them and on a new structure of BPSX file required for correct profile creation.
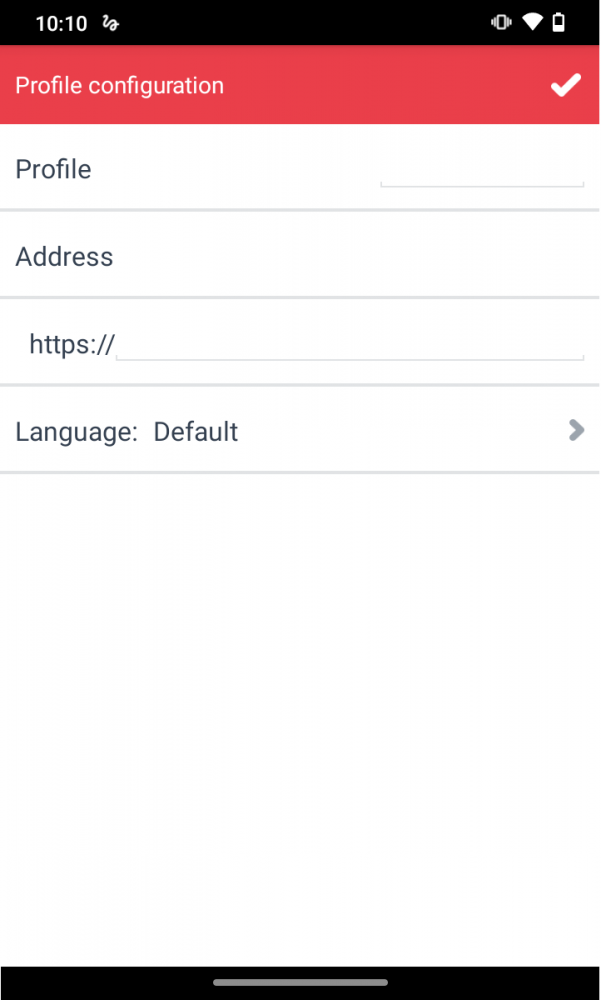
To create a profile in the new version of the mobile application you only need name and server address on which BPS Portal is located.

In the previous version, it was also required to provide „domain”, „user” and „password”. Log-in process is configured on BPS Portal and only after launching the provided address, it will transfer you to the log-in panel. Further changes include deletion of “save password” and “external authentication” parameters – from now on both settings are “true” by default.
BPSX file structure
As previously BPSX is an XML format file and allows to define all necessary profile parameters.
| Parameter name | Comments |
|---|---|
| Name |
Profile name. If a profile with an identical name already exists on a mobile device, when opening a .BPSX file, the user will be asked to either:
|
| Address | Server address where BPS Portal is located |
| Language | Profile language
Available options:
|
| UsePush | Defines if the application should use PUSH notifications.
Available options:
|
Below you can see an example of BPSX file content. It contains definition of DEMONSTRATION2019 profile.
<?xml version=”1.0″ encoding=”utf-8″ standalone=”yes”?>

<Profile>

    <Name>DEMONSTRATION2019</Name>

    <Address>https://portal.webconbps.com/</Address>

    <Language>en-EN</Language>

    <UsePush>false</UsePush>

</Profile>
Launching the file on mobile devices remaines unchanged and is analogous to previous versions.
Running a BPSX file on a mobile device
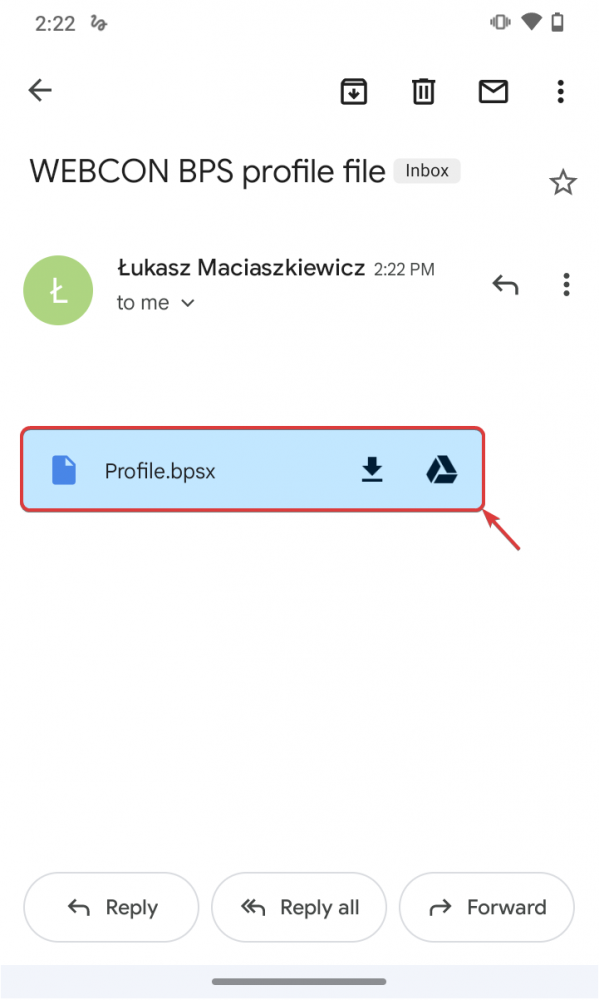
The file prepared as shown above should be saved as a .BPSX file (i.e.: Profile.BPSX) and then sent to the appropriate user. The easiest way to deliver the file is to send it as an e-mail attachment. After receiving the e-mail the user has to save the attachment.

Launch the saved file by clicking on it in the download notification window.

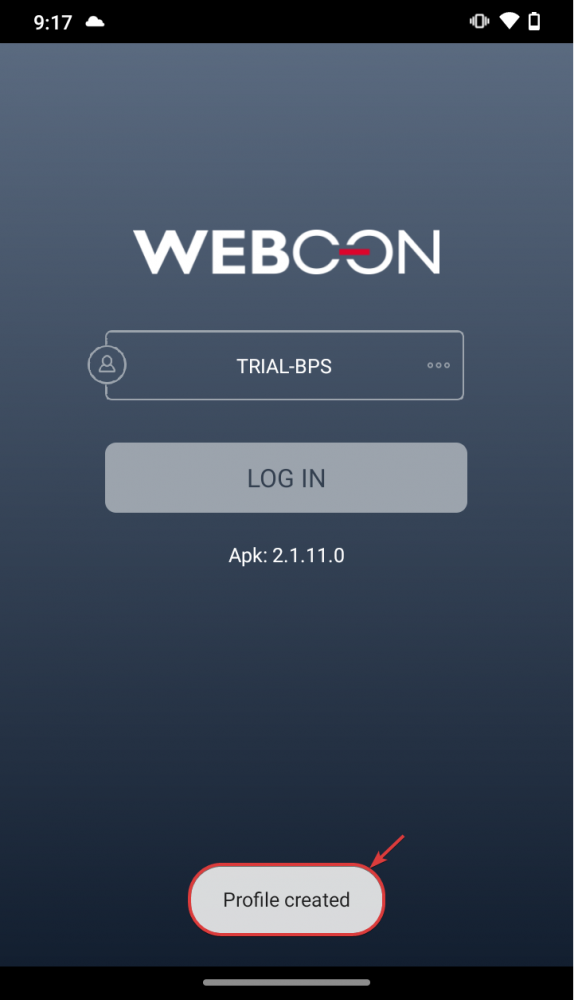
The WEBCON BPS application should now automatically launch and confirm the creation of the profile with a message.

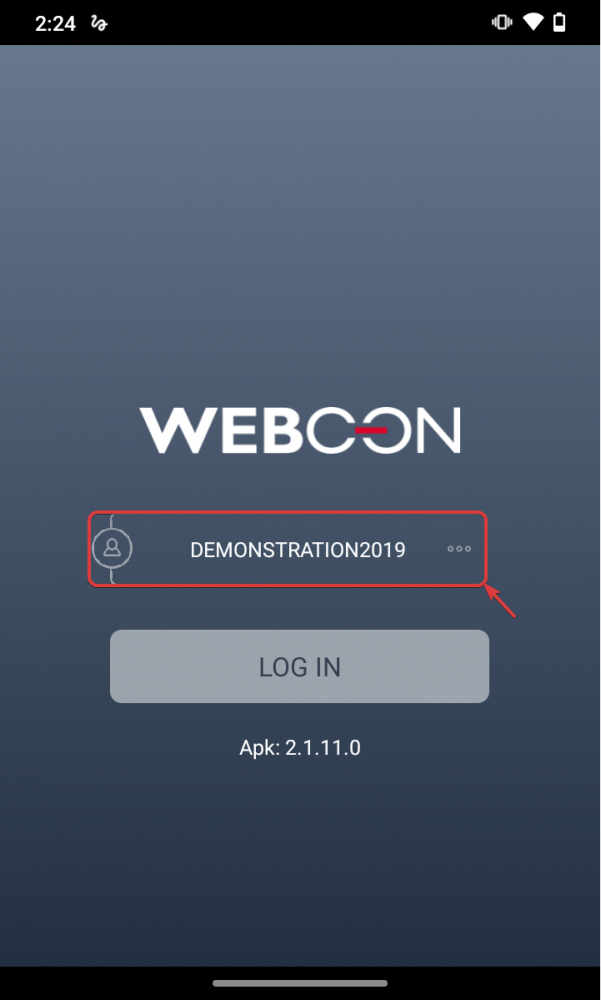
To log into the new profile, switch to it in the log-in window. Here, the newly created profile's name is "DEMONSTRATION2019".


