Using SharePoint Online content in WEBCON BPS
Applies to version 2020.1.3; author: Michał Kastelik
The WEBCON BPS platform enables simple integration with the SharePoint Online environment and your SharePoint workflows. After defining the connection in Designer Studio, you have many actions at your disposal that allow you to create sites and operate on lists.
This article describes actions that enable linking the WEBCON BPS application with the content on SharePoint Online. Below you can see an overview of the actions we are going to discuss.
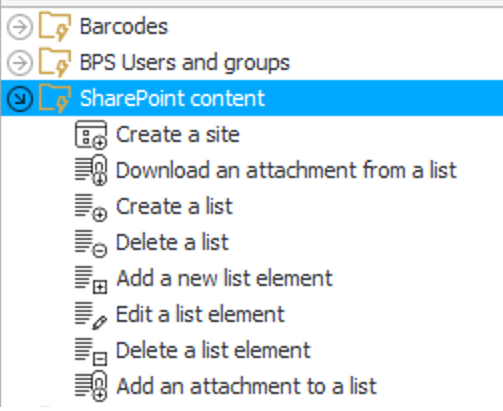
Using WEBCON BPS Designer Studio and SharePoint, you can also create SharePoint groups, manage their members and add SharePoint privileges. If you want to learn about this, go here: SharePoint Online – privileges (webcon.com)
How to start
First, open the WEBCON BPS Designer Studio. Choose the workflow and its step at which you want to add an action. Then, add the action, click on the action type, and expand the "SharePoint - content" group.
Now, let us explain what you can choose.

Create a site
This action creates a new SharePoint Online site. Fill in the following fields to configure it:
- Connection – specifies the SharePoint site collection on which the action will be executed,
- Parent site - the place where the new subsite will be created; click on the three dots (…) next to it to choose it from a list of available parent sites,
- Title - site name,
- Description - site description,
- URL name – the text that will be displayed in the website address path.

You can save the address of the newly created site in a workflow's form field. To do so, tick the box next to an Absolute URL or Relative URL, and choose the name of the form field.
You can also tick these options:
- Use the top link from the parent site.
- "Include a new site in the top link bar of parent site" - the link to the new site will appear in the top link bar of the parent site unless it is inherited.
If you select the "Execute outside transaction" option, the action's code will be executed without waiting for its execution in the form.
After linking the fields from the form with the action parameters, a new site will be created, and an absolute URL link to it will be entered in the form field.

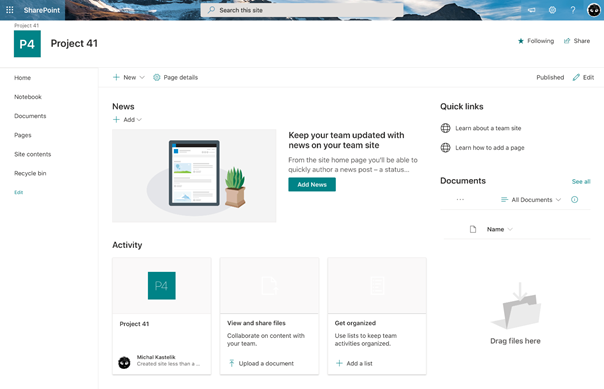
Add a new list element
This action lets the user add new elements to the indicated list.
Select the connection and list address, and choose how to add elements:
- Static - in this mode, fields from the workflow form should be assigned to the columns in the SharePoint list,
- Dynamically - in this mode, you should define a SQL query. It will return columns with the same name as the SharePoint list column.
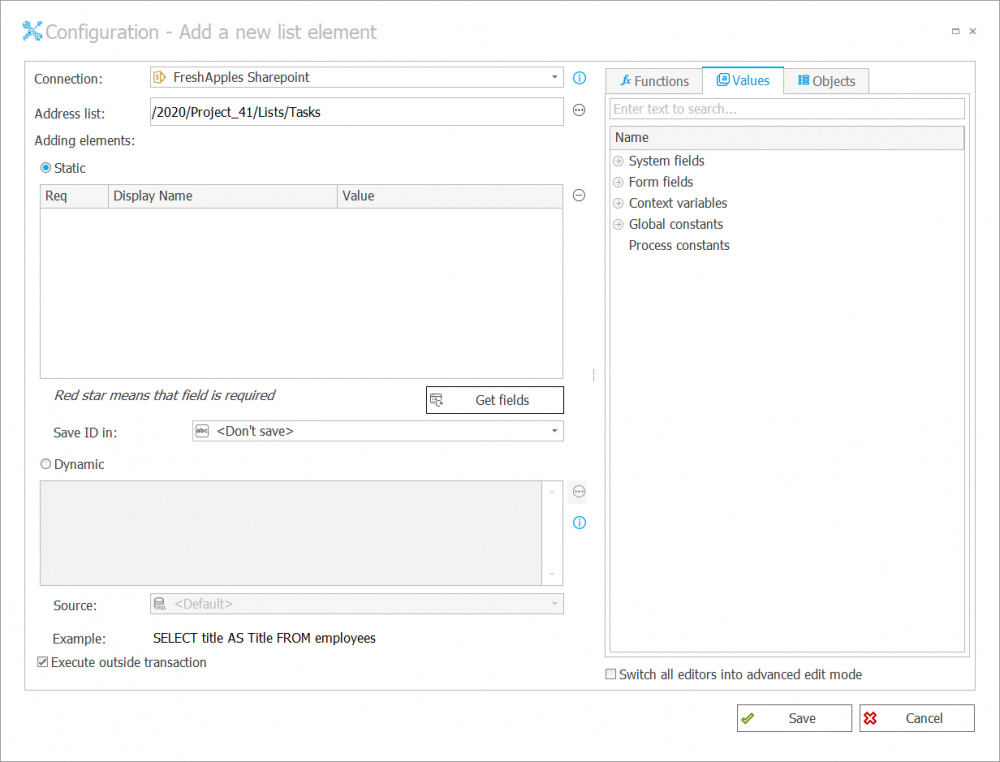
The "Save ID in:" field allows you to indicate the form field in which the ID of the newly created row will be saved.
After completing the configuration of the action, a new SharePoint list item will be created when the action is started.
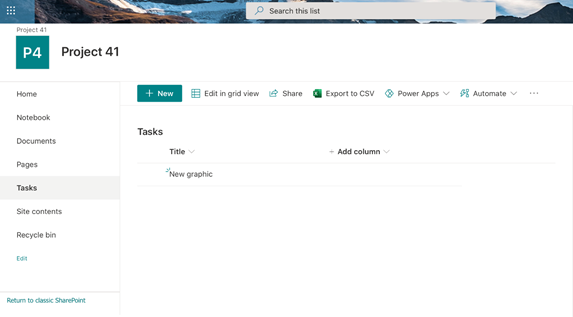
Add an attachment to a list
This action lets the user add an attachment to the SharePoint list. The configuration allows you to indicate which attachments are to be added:
- Category – by default, it is set to All and allows every type of attachment; however, you can create a custom category that will be constructed dynamically (with the variables from the editor) or entered manually.
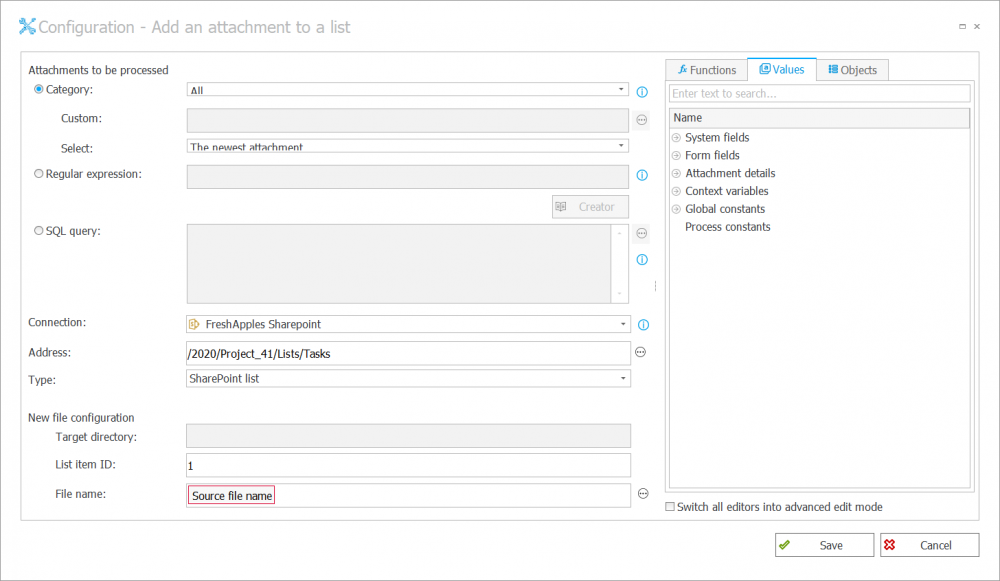
- In the "Select:" option, you can choose:
- All attachments - the action will add all attachments from the attachment zone of the workflow instance,
- The oldest attachment - the action will add a single attachment (the oldest one),
- The newest attachment - the action will add a single attachment (the newest one),
- Regular expression - allows you to select an attachment using a regular expression,
- SQL Query - allows you to select an attachment with a SQL query.
The query should return a list of attachment IDs from the dbo.WFDataAttachmets table. For example:
SELECT [ATT_ID] from dbo.WFDataAttachmets
WHERE ATT_Name = ‘Document.docx’ and ATT_IsDeleted = 0
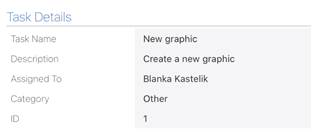
In the configuration we present here, all attachments in a given workflow will be added to the selected list element with ID = 1.
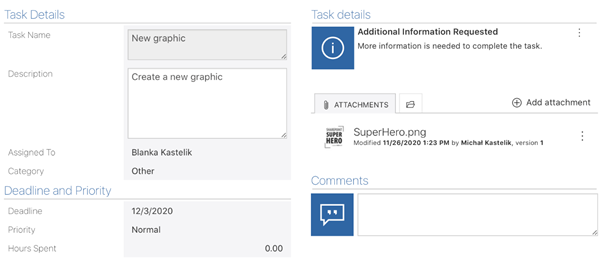
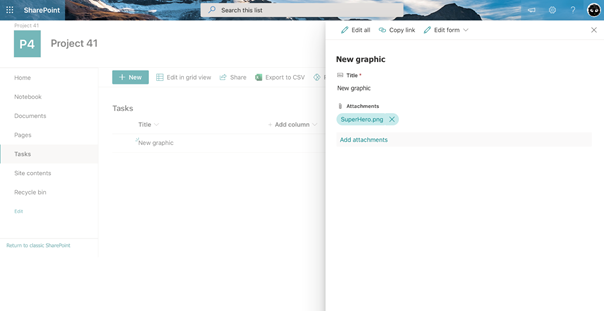
After executing the action, the attachment will appear on a given SharePoint list item.
Download an attachment from a list
This action lets you download an attachment from a SharePoint list and save it in the attachments zone of a given workflow.
To make the configuration more readable, we will create a constant called SuperHero URL with a link to an image. To do so, go to the System settings tab on the left, select Global constants, and then press the "New constant" button.
In the "Name" field, enter the name of the constant (e.g., "SuperHero URL") and paste the link to the image in the "Shared" field (it is under the "Values" section).
In our example, we link to the image with this path:
/2020/Project_41/Lists/Tasks/Attachments/1/SuperHero.png
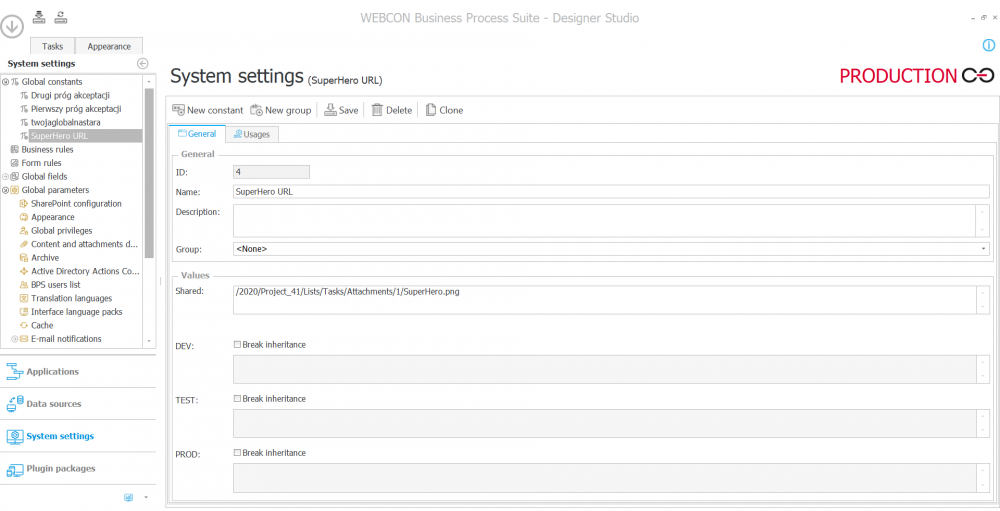
Now, go back to the workflow, open the step you were at, select the "Actions" tab, and click on the action you were configuring. Then, press the "Configure" button at the bottom right. You are back where we started.
Click on the empty field next to "Static" and select the constant you have created from the list (on the right).
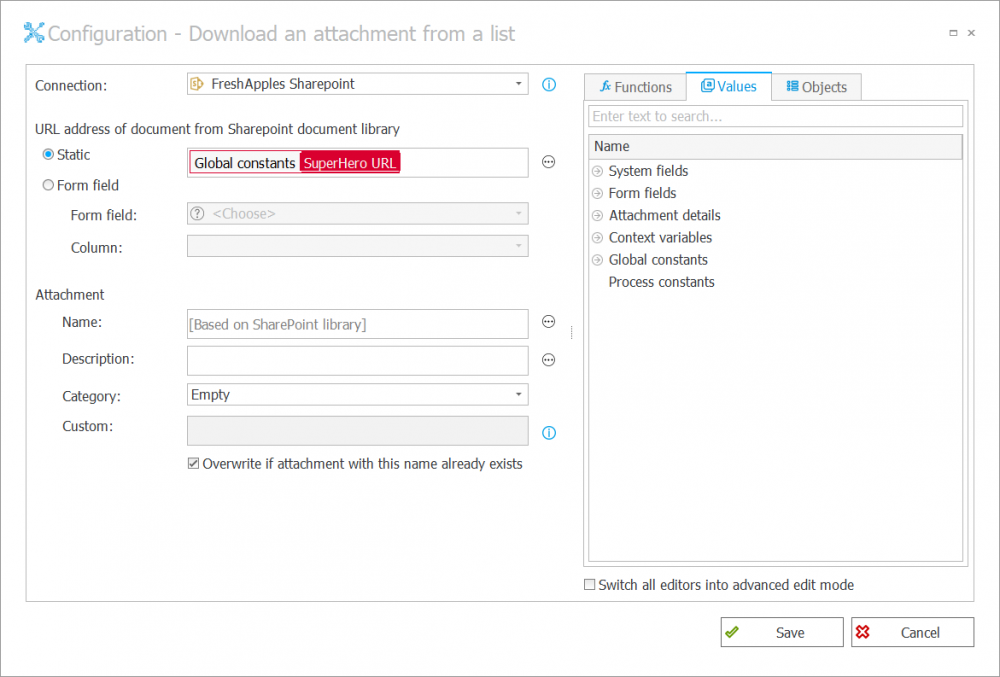
Now, look on the left under the "Attachment" section. There are four fields you may want to fill in:
- Name – you can specify a name for the attachment manually or by selecting elements from the editor on the right. By default, it will be named the same as in the SharePoint list.
- Description –you can describe the attachment manually or using the elements from the editor on the right.
- Category – you can specify to which category in the workflow the attachment should be saved.
- Custom – if you have chosen a custom category, here you select it.
Now, when you save the configuration, the attachment will be downloaded from a SharePoint list and saved in the workflow every time this action is executed.

Delete a list element
You can remove a SharePoint list item with this action.
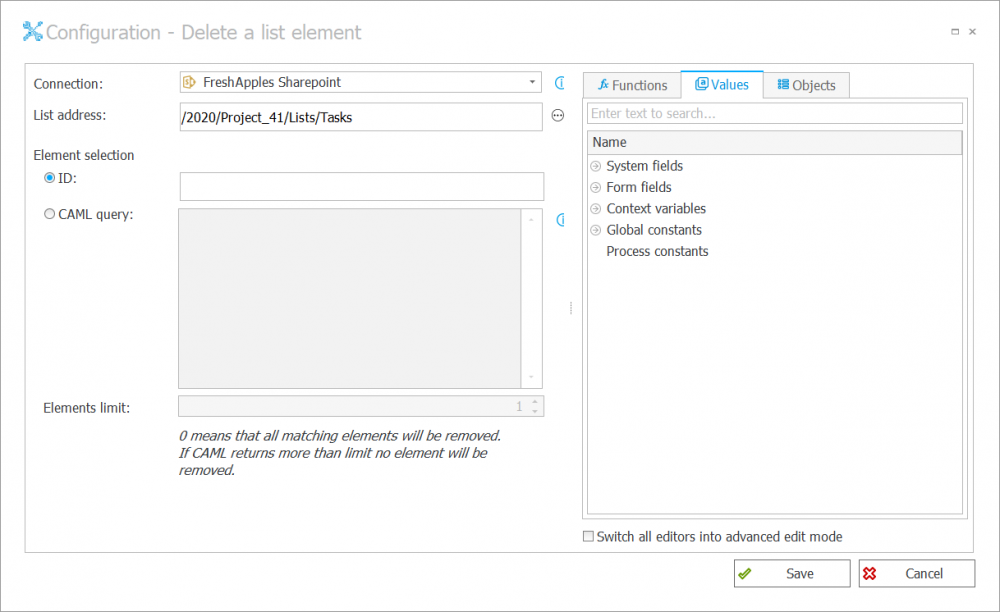
Press the "Configure" button to see the configuration window for this action. Now, specify the "Connection" and the "List address." After that, mark the radio button next to "ID" and provide the ID of the element that should be deleted.
You can also mark the radio button next to "CAML query" and use this method to remove the item(s). You can specify the "Elements limit." If it is 0, all matching elements will be removed. However, if CAML returns more than the limit, then no element will be removed.
Edit a list element
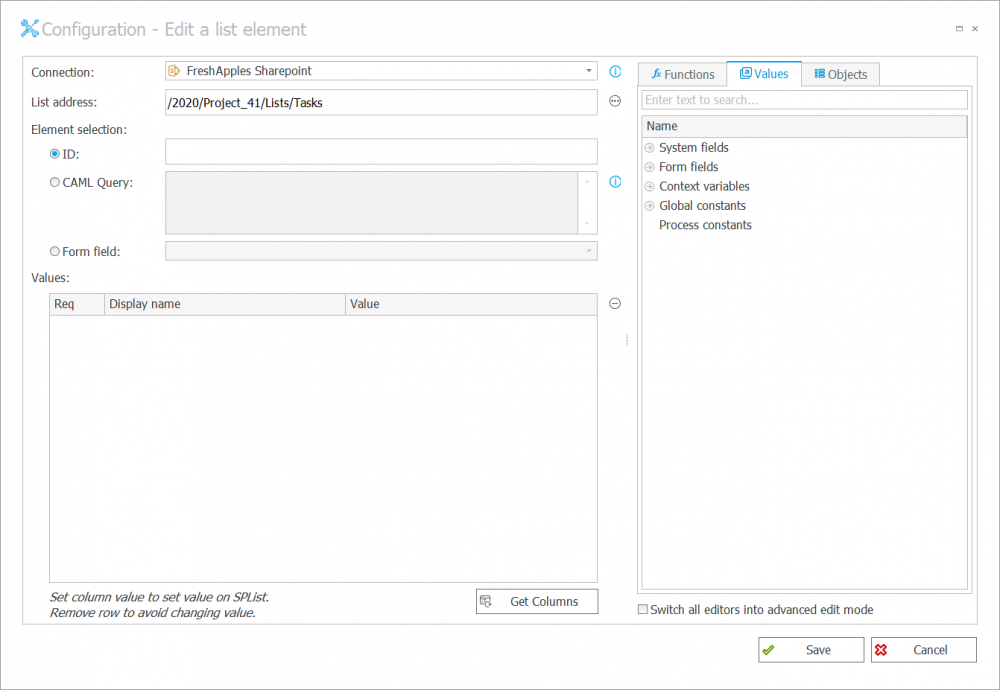
This action changes the row's values in a column of a SharePoint list. To change the value of a list item, you can select new values in the "ID" field or use a "CAML Query." You can also choose a "Form field," and its value will replace the value of a list item.
If you need to change many columns in a list element, press the "Get Columns" button; it will insert additional configuration rows.
Delete a SharePoint list
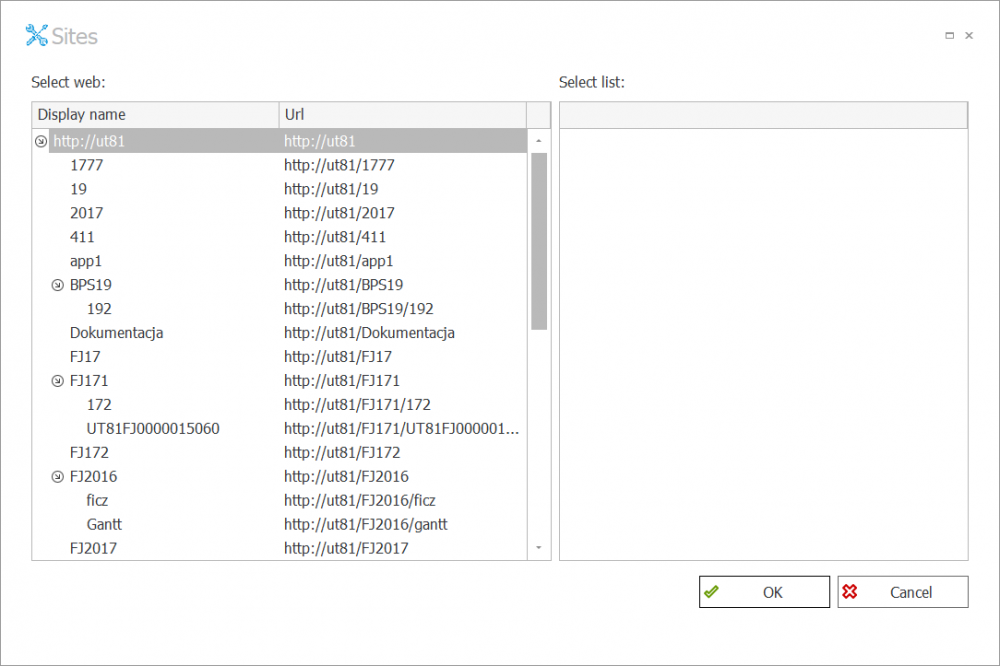
Use this action to delete a SharePoint list. Choose this action, press the "Configure" button, choose a "Connection" and select which list should be deleted.

Create a list
Choose the "Connection" and use this action to create a new SharePoint list on a site you specify in the "Site address" field. Then, decide which "Template" should be used to create the new list.
After that, fill in the "Name" and "Description" fields. You can also save the address of the newly created list in a form field and add it to the Quick Launch Navigation Menu.

Summary
You can use the content from your SharePoint Online to extend the existing workflows in WEBCON BPS. For example, SharePoint lists can be used as libraries of document templates or dictionary lists. You can also use them to create project sites directly from a WEBCON BPS form.

