Generating docx files
Applies to version: 2020.1.x and above; author: Grzegorz Szlachta
WEBCON BPS allows you to generate the Word files that can include data entered on the form. This functionality is useful in various processes such as contracts, vacations, and orders, where it is necessary to submit the document for signature. The following article describes the method of WEBCON BPS add-in installation, template preparation and action configuration for generating a .docx document. An example template was based on the employment contract process.
Installation of the WEBCON Word add-in from the Portal
The installation of the Word add-in is possible from the browser level – go to the Portal directly via Internet Explorer installed on this machine. The installation will not be possible via a RDP remote connection or from a locally saved installation file. To properly install the add-in, the Office package (with Word installed) is required.
In the user menu click the icon in the upper right corner and then, select the “Install MS Office add-ins” -> “Word” option.

A message informing about the security certificate will appear on the screen.
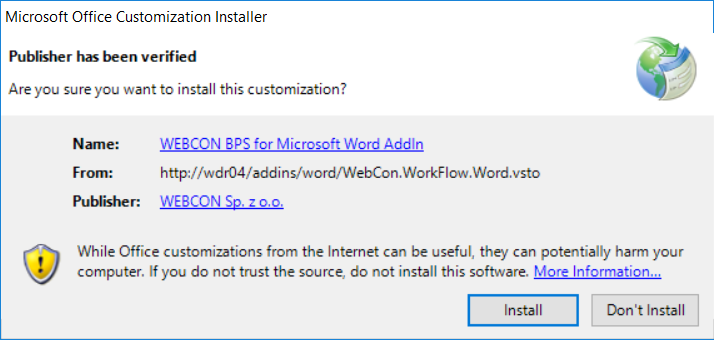
Click the “Install” button – a window informing about the correct installation of the add-in will appear on the screen.
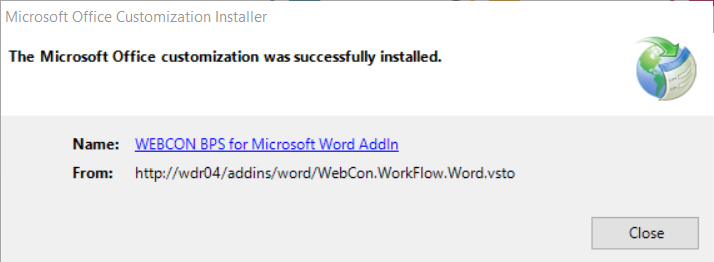
The installation can only be run by using the Internet Explorer.

Word add-in and template configuration
During the first start in the Word program, the configuration of the add-in is done in the same way in new versions as in previous ones.
Adding the form fields to the template
After setting up the Word add-in connection to the appropriate site, create a template – use the “File Generation Templates” button.

Then, in the panel which appears on the right, select the application, process and document type from which the values on the form will be loaded. You will get a list of fields that can be placed on the template. Adding the fields to the template can be realized in two ways:
- By placing the cursor on the document in the place of interest to us and double-clicking on the field name from the list
- By dragging the field from the list to the appropriate place on the document (the drag© method)
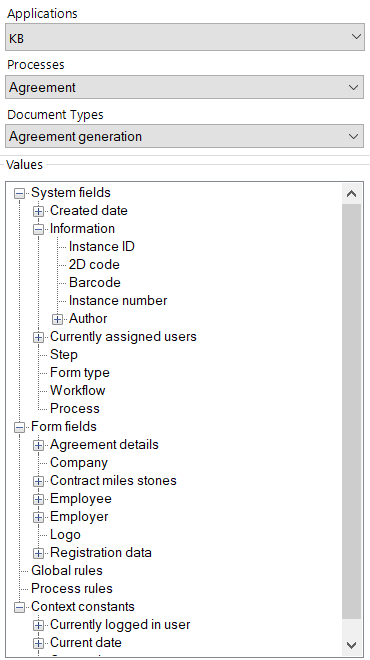
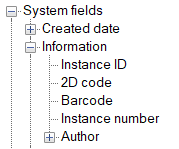
In addition to form field, the system fields such as signature or 2D code and barcode are available in the list. The methods for adding them are the same as described above

Item lists and data tables
In the template you can also add the item lists defined on the form. After adding the item list, a window will appear in which you should set the visibility, order and column names. For the columns with numerical data there is the ability to add a row summing the values.
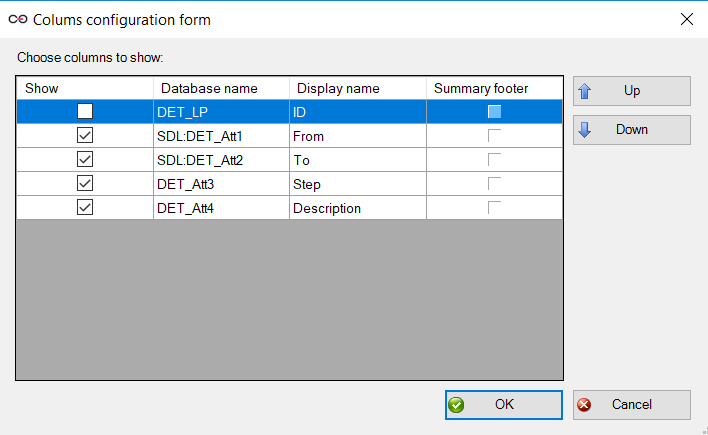
After confirming the configuration, the list will be added to the template presenting the names of the selected columns along with one, empty row. Now, you can set the table style by using built-in Word options.
Downloading data from other systems by using a SQL query.
In the same way as the item lists, you can add the data tables based on the SQL query which refers to the WEBCON BPS database or an external system. In the Word file you can put not only the data on the form but also the properly filtered and formatted data e.g. from the ERP system or other client database.
Banded formatting of the item list in the Word program
To set the banded rows, click the table and go to the table design settings on the top ribbon. Then select the “Banded rows” option and select a style from the available list or create your own style.

The result:

Images
Form version 2020 there is the ability of adding the images on the form by using the Image type field. The latest version of WEBCON BPS Word add-in allows you to add the content of such a field to the template. These fields are normally available on the list of all form fields. After adding the image to the template – this field is displayed on the template as follows:

Footer definition
The document footer often includes basic company data. If you have a large number of templates for a given client/process and you want to display have changed, it may turn out that introducing the modifications requires from you a disproportionate effort and editing each template separately. To avoid this situation, you should store the company data in the global configuration. This method will cause that changing the value in one place will have an effect in every process that refers to this configuration.
To configure the business entity data in WEBCON BPS go to the system configuration and then, add a new (or edit the existing one) business entity. There is the ability of entering such data as the company name, Tax ID number and contact data (phone number, address..). The saved data will be stored in the Companies table.
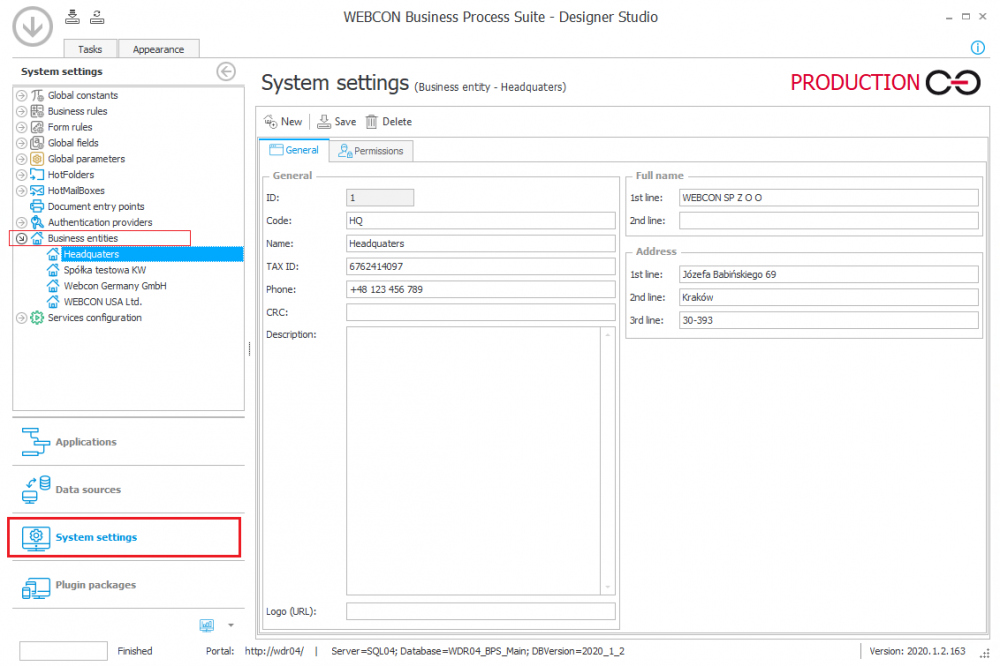
The next step is to configure the data row form field where you will refer to the Companies table. The columns you define will then be used to create the footer content.
The SQL query should be defined as follows:
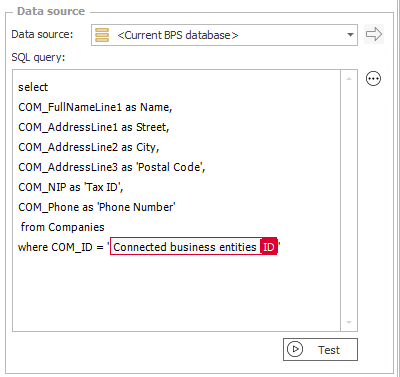
In the template editing mode, double-click the footer area and then, select the columns from the menu on the right.
Important!
It is not possible to place the entire table in the footer. The footer content should be added by clicking on each column separately.
An example configuration and the result after generating the Word file:
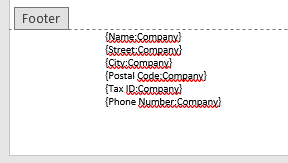
There are cases when you want to e.g. include an URL address in the template. A highly recommended way to create a template is to use the configuration compatible with DEV/TEST/PROD environment i.e. use the constants containing the DEV/TEST/PROD sections in our configuration. By providing the different values in each section depending on the environment in which you work, the appropriate value will be inserted in the generated file. A description of good practices along with examples of the use of individual constants has been described here: Implementation handbook - Application configuration compatible with DEV/TEST/PROD.
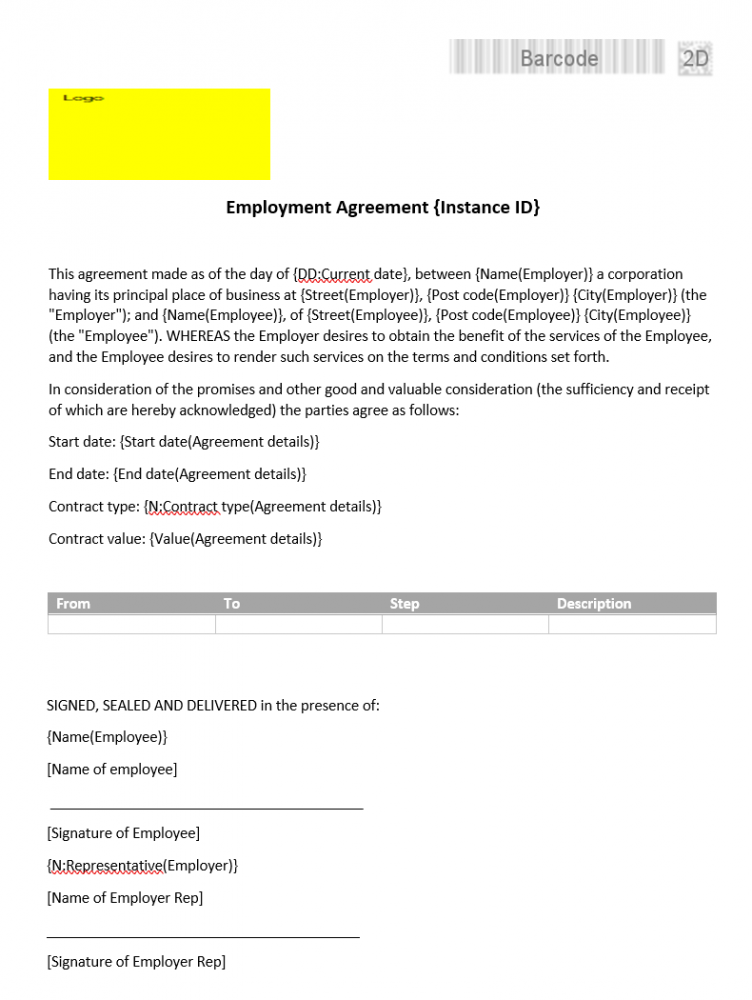
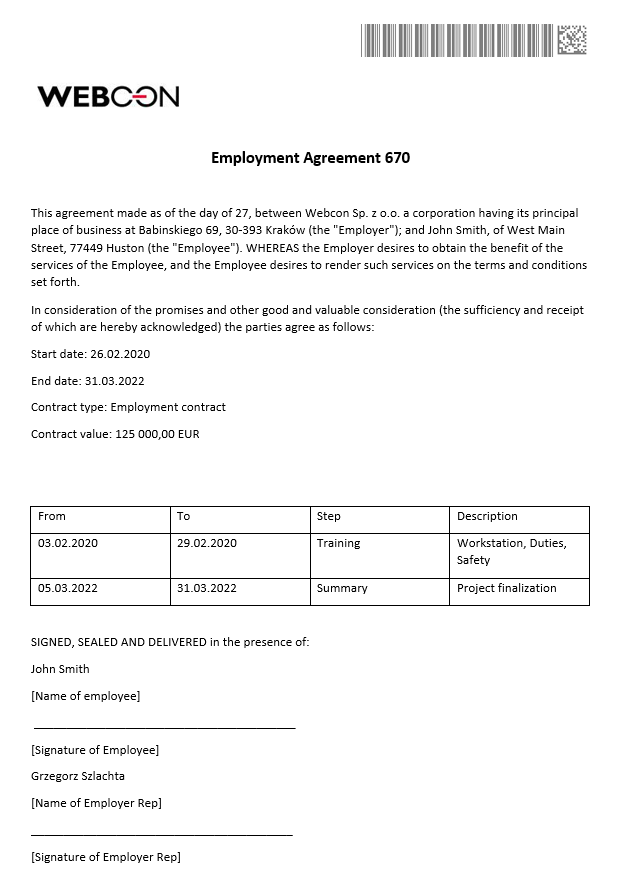
An example of generated file:
Template editing and tracking changes
The methods of storing document templates was described here: Storage methods of document templates.
If you have decided to place the template in a typical process for document templates, you should properly configure the attachment section on such a process to allow for editing the file with the template. To do this, go to the WEBCON BPS Designer Studio and go to the template process, expand the workflow and then, click the “Main form” option -> Global form template (select the Attachment section). Now, in the properties section select the “Edit using list” option and save the process.

When editing the dictionary instance, where the template is saved, the “Edit file” option will be available. This allows to use all WEBCON BPS Word add-in options e.g. tracking the changes which were described here: Word Add-in - document version comparision.

Configuration of the “Generate a Word file” action
The action of generating a Word file is configured in the “Actions” tab in the step settings. Let’s add this action at the node on the path of the “Contract generation” path. The configuration of the action does not change depending on the selected node.
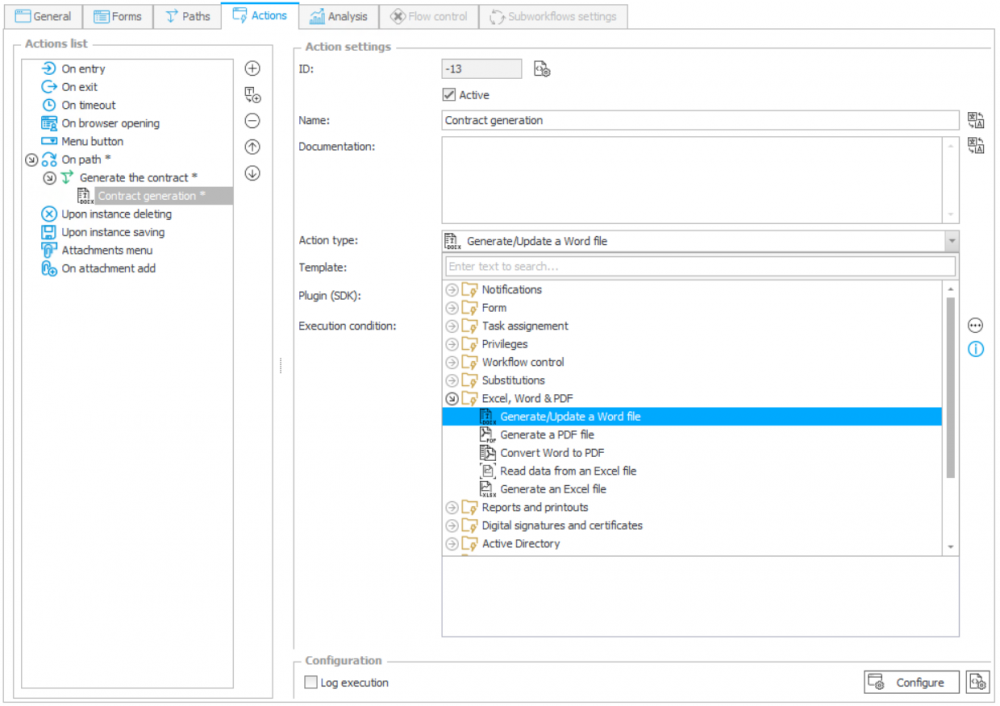
Select the action type from the list -> Generate/Update a Word file and click the “Configure” button.
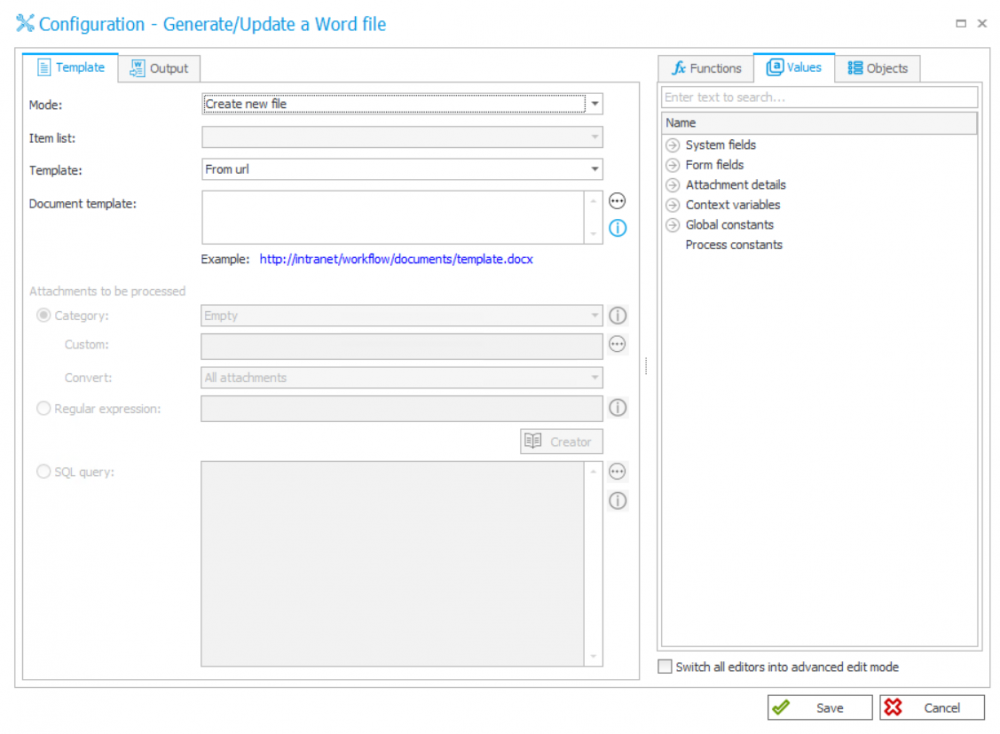
There are three operating modes in the action configuration:

- Create new file – it will create one new file each time when the action is triggered
- Create new file for item list rows – creates a separate file for each row in the item list
- Update existing file – updates a selected file based on the category, regular expressions or SQL query. The function is useful when the form fields are editable – during saving the changes you can easily refresh the contents of the file
There are three methods of selecting the Word file:
- From url
- From attachment
- From document template process

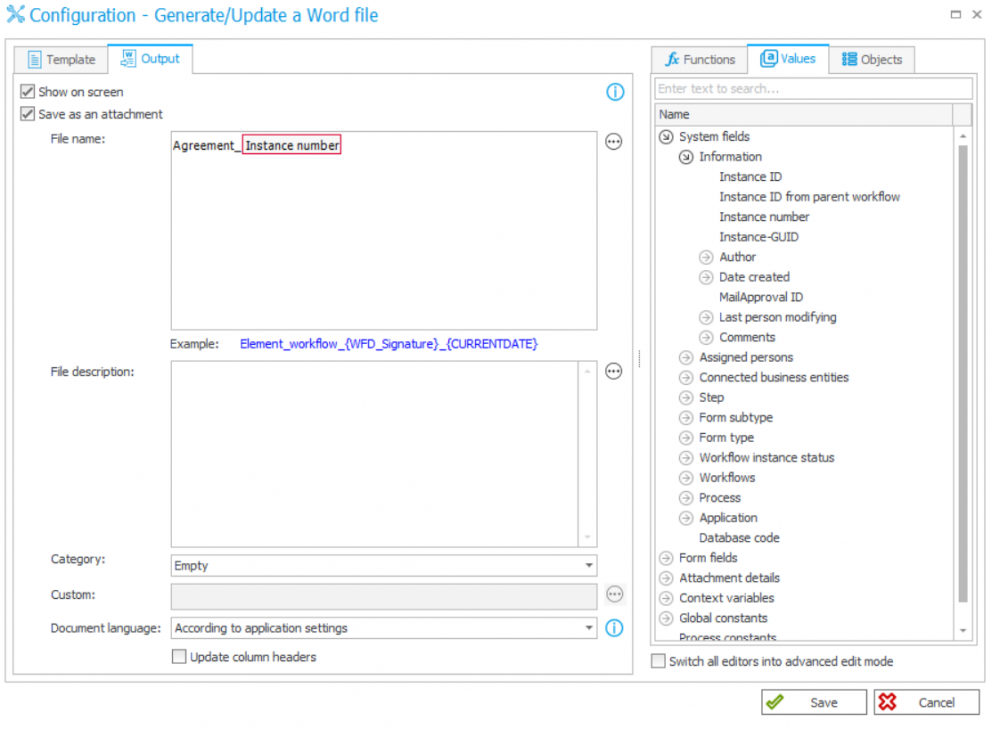
In the Output tab the output file saving parameters are set.
Selecting the “Show on the screen” option allows to display the preview of the generated file in the browser window. If you select the “Save as an attachment” option, the file will be attached to the document and their name determined according to the settings in the “File name” field.
In addition, there is the ability of assigning the overwritten attachment to the specified category.
